Easy Skillet Apple Crisp with Oat Topping
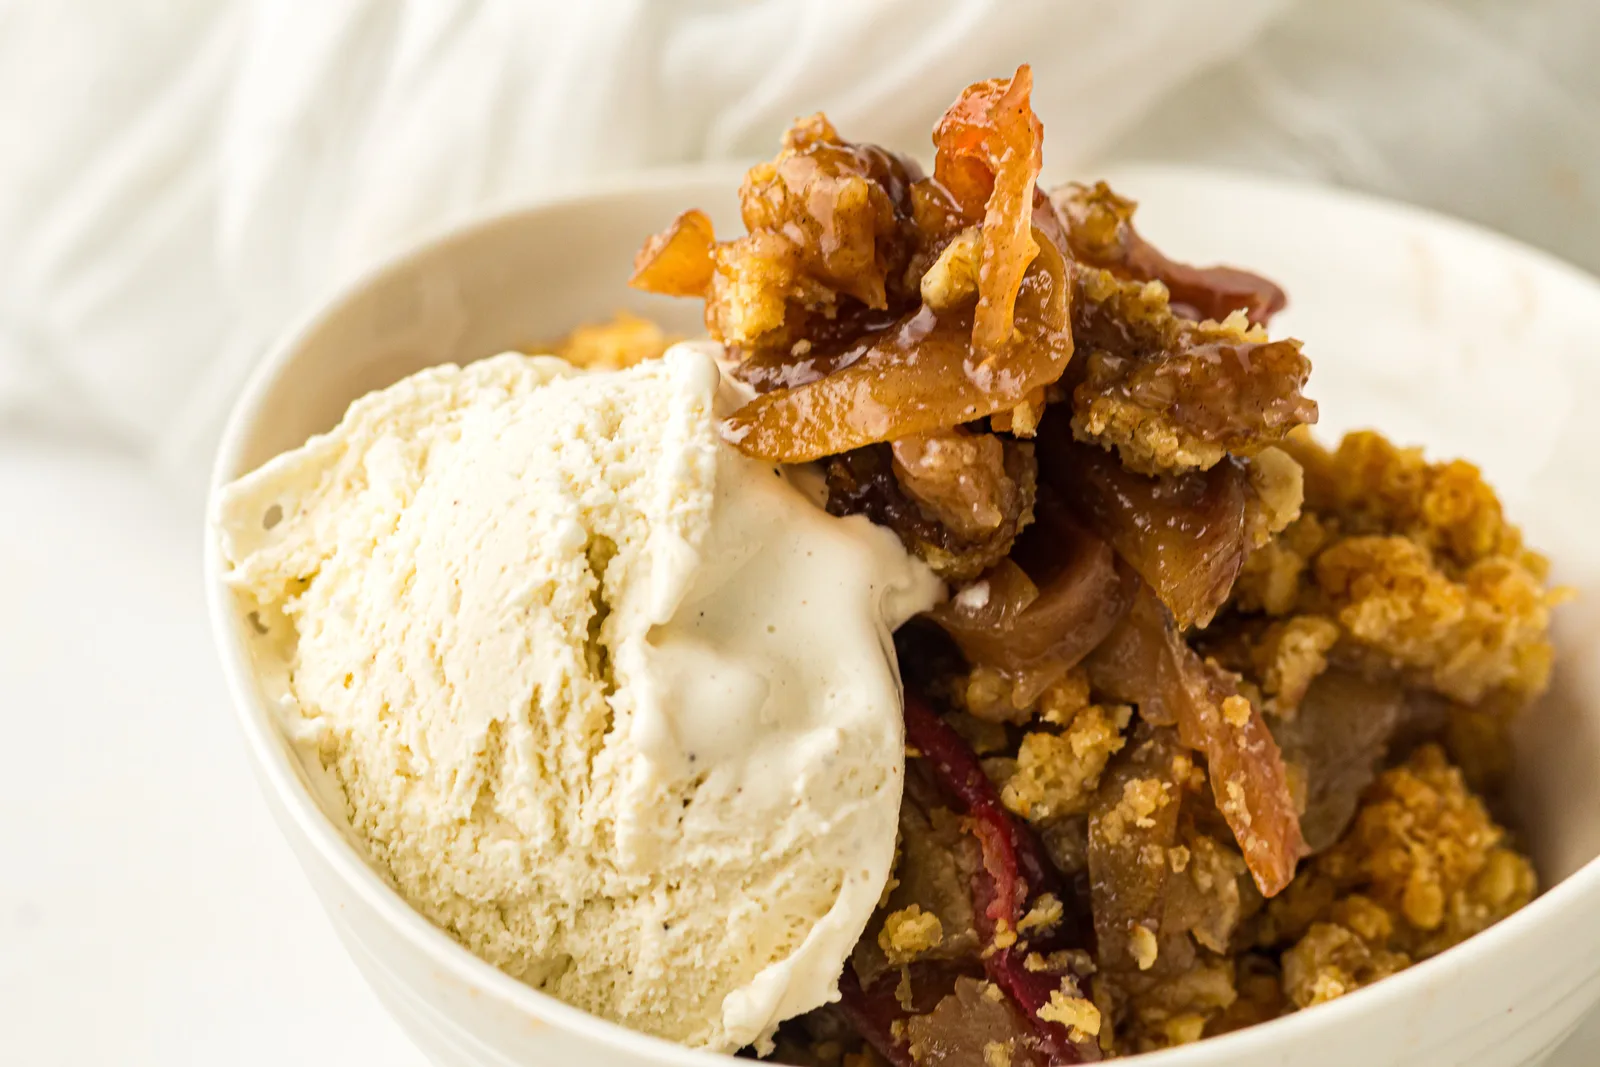
A good apple crisp should give you two textures in the same spoonful.
The apples underneath should be soft and glossy, but still recognizable as slices. The topping should be craggy, buttery, and crisp enough to make that first bite count.
This skillet apple crisp keeps the apple skins on, which gives the filling a little color and saves the fussiest part of the prep.
Everything goes into one cast-iron skillet, and the topping is mixed with melted butter, so there is no cold butter to cut in and no pastry technique waiting to trip you up.
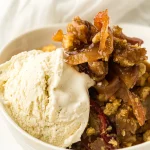
Serve it warm with vanilla ice cream when you want the full hot-and-cold situation.
It also sits comfortably on a holiday dessert table beside Peach Cobbler or Lemon Pound Cake.
Ingredients You Need

How To Make Skillet Apple Crisp
1. Slice the apples.
Heat the oven to 375°F. Lightly butter a 10-inch cast-iron skillet and set it on a rimmed baking sheet.
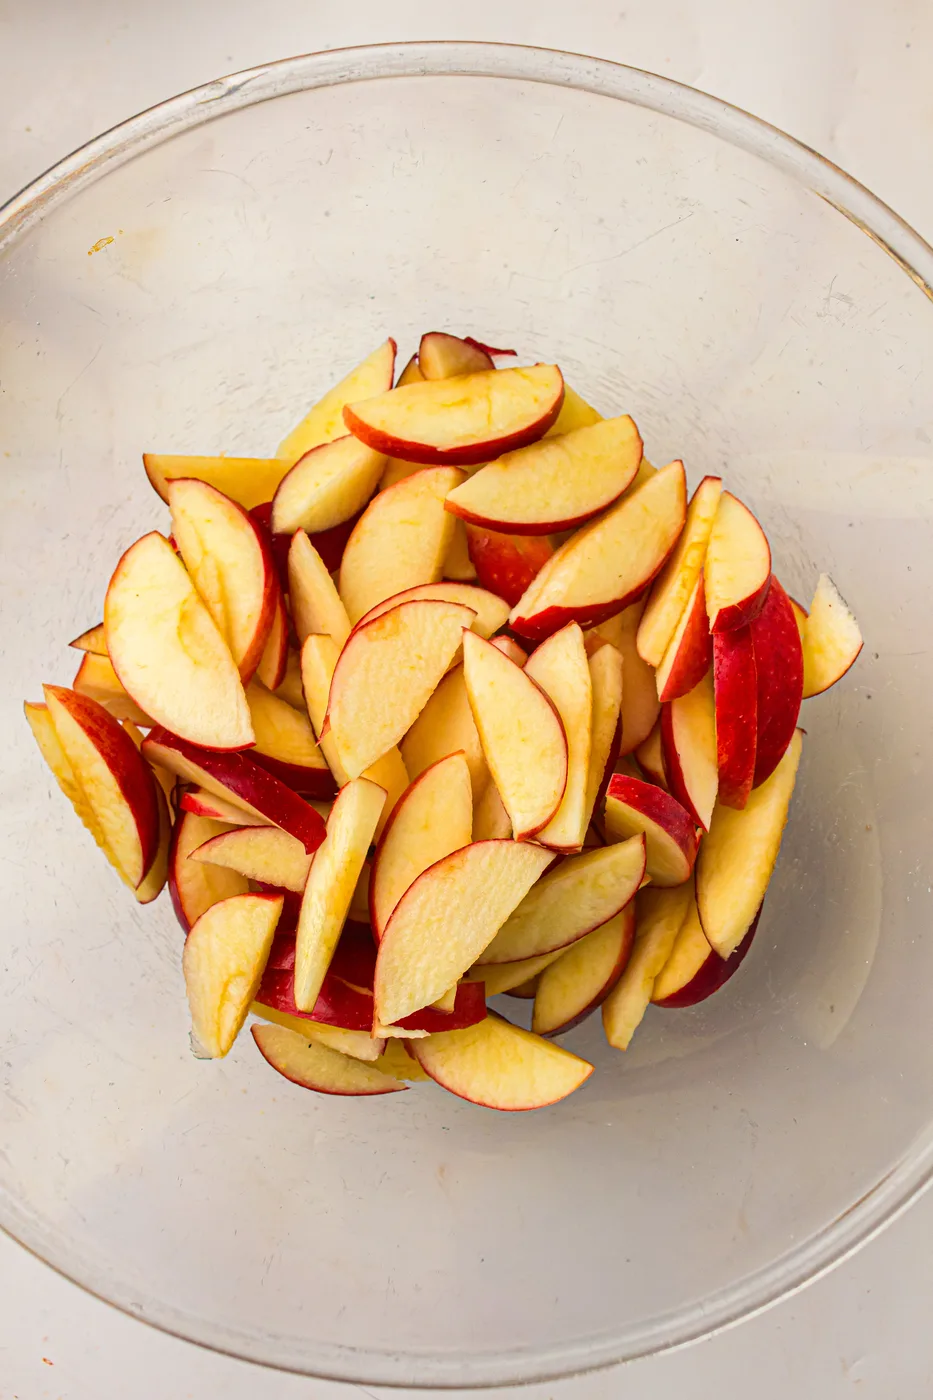
Core the apples and cut them into roughly 1/4-inch wedges. There is no need to peel them unless you strongly prefer a softer, more uniform filling.
2. Season the filling.
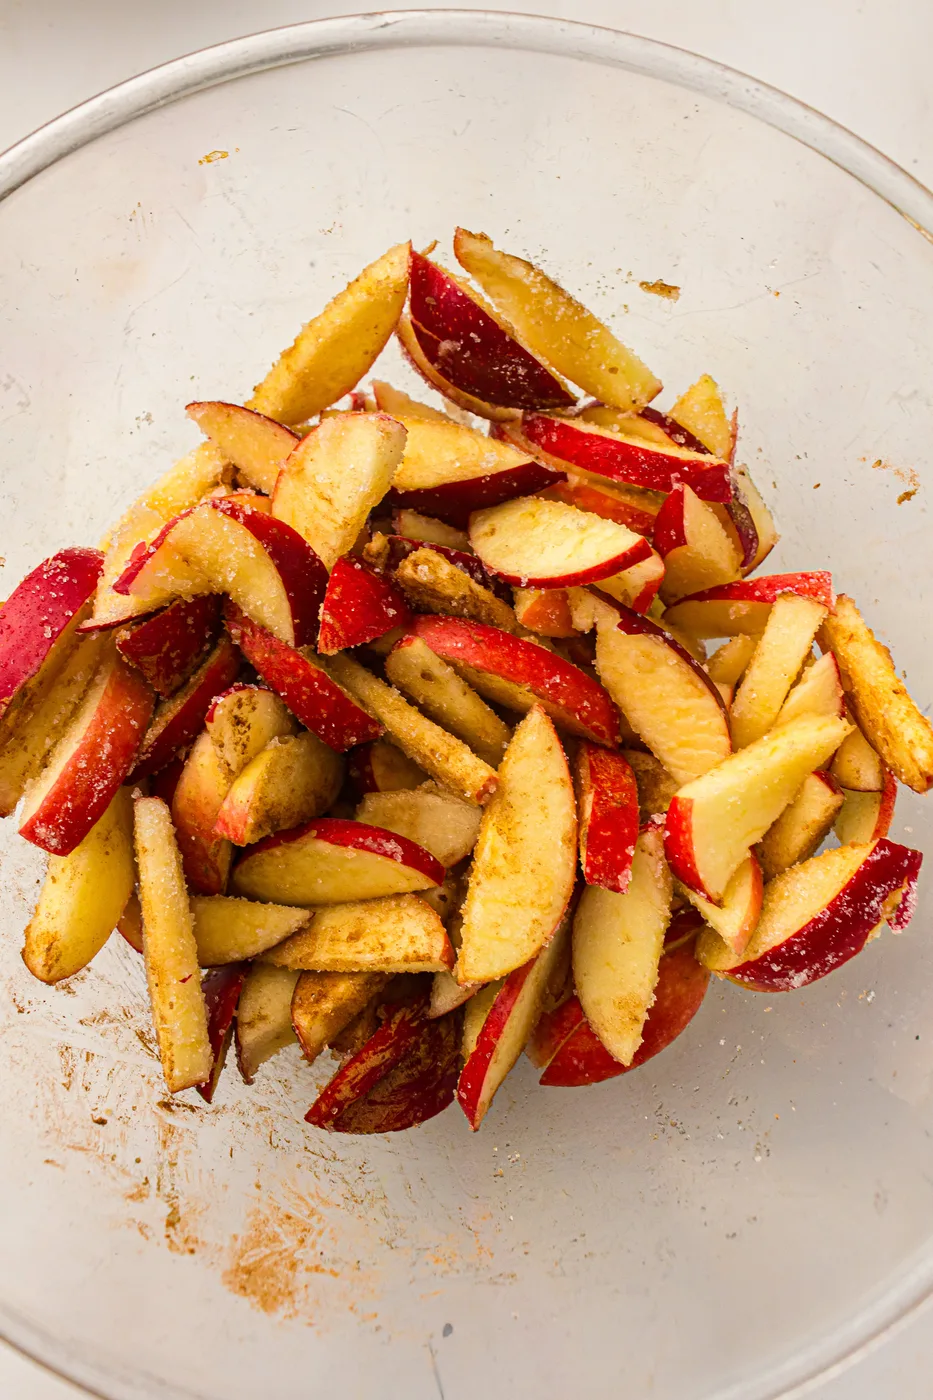
Toss the sliced apples with the filling sugar, flour, cinnamon, salt, and melted butter. Keep turning them until the dry spots disappear and the seasoning is spread across the slices.
3. Mix the oat topping.
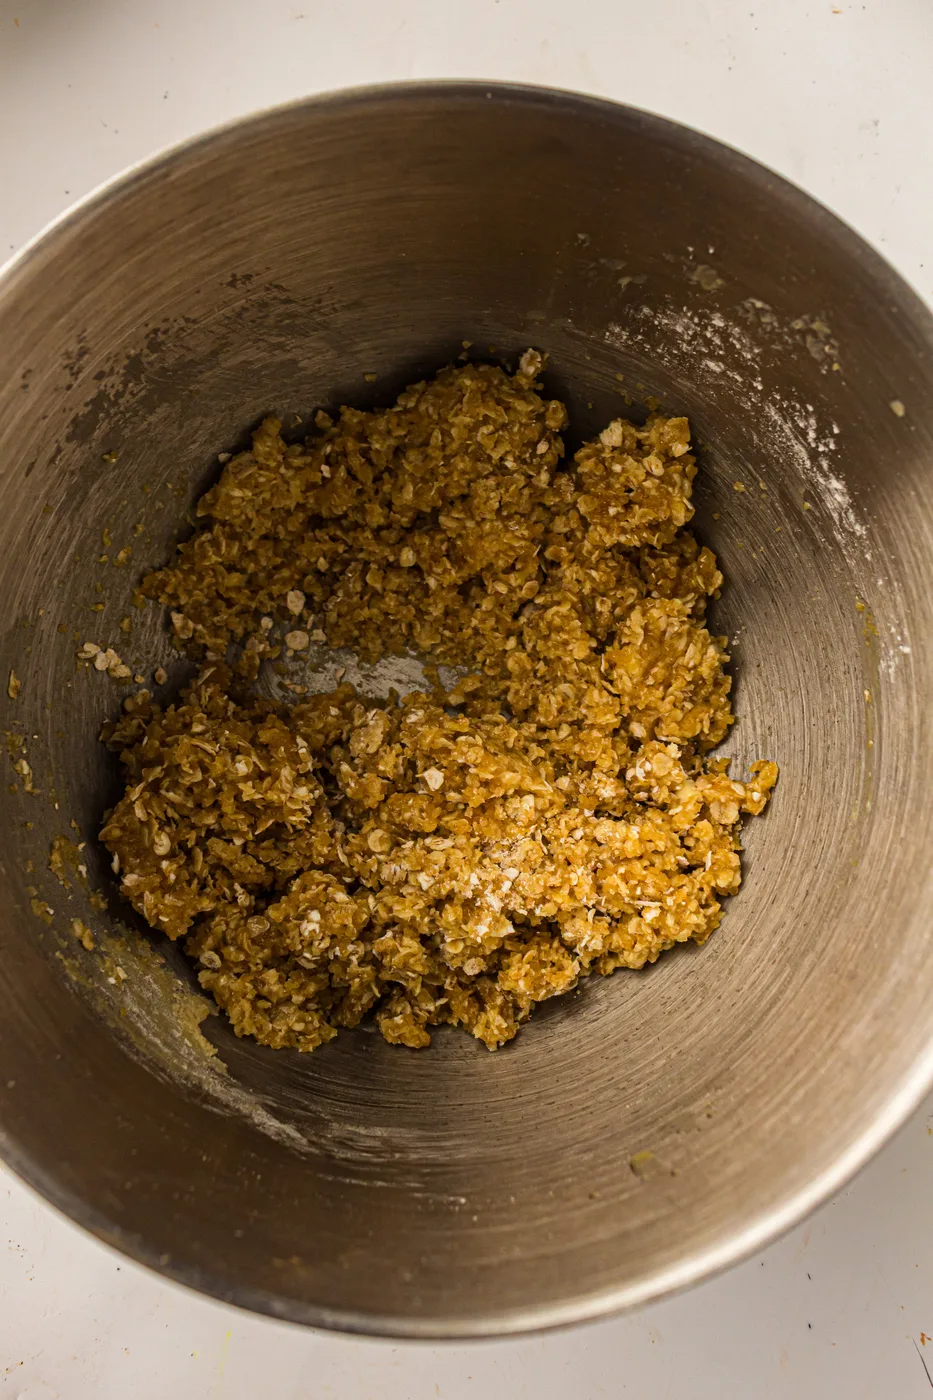
Stir the oats, flour, sugar, cinnamon, and salt together in a separate bowl. Pour in the melted butter and mix until no dry flour remains.
The topping should form uneven clumps when you squeeze it. Those rough pieces create the crisp edges that make the topping worth stealing.
4. Fill the skillet.
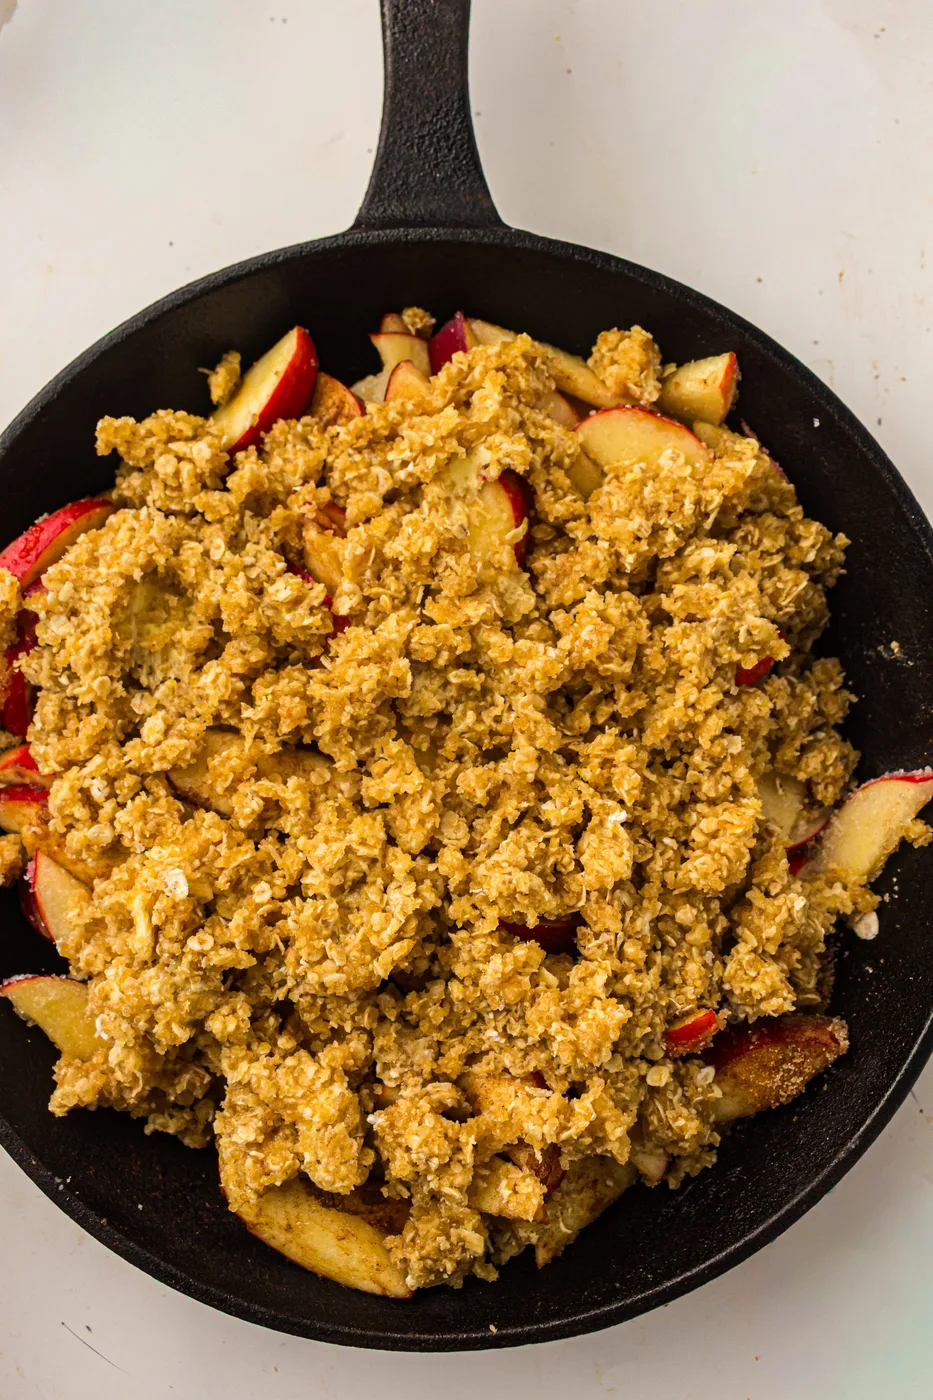
Spread the seasoned apples evenly in the prepared skillet. Scatter the oat mixture over them, breaking very large pieces apart but leaving plenty of smaller clumps.
Do not press the topping down. A loose surface browns more evenly and gives steam somewhere to escape.
5. Bake until golden and bubbling.
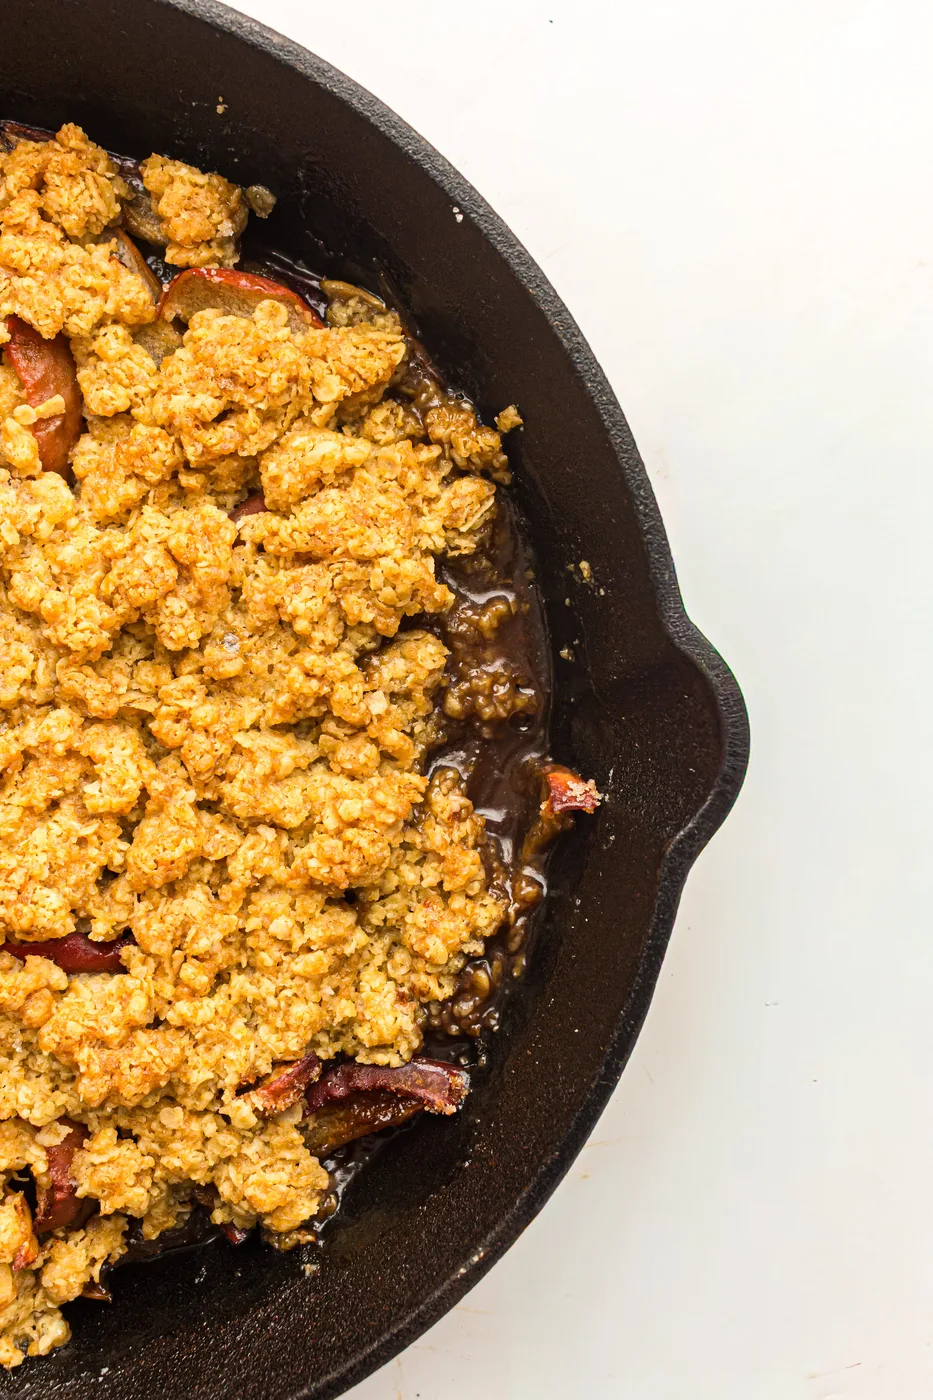
Bake for 40 to 45 minutes. The top should look golden, and the apple juices should be bubbling around the edges.
Slide a thin knife into the center. It should meet tender apples without the slices collapsing completely. If the topping browns early, cover the skillet loosely with foil.
6. Let the filling settle.
Rest the crisp for at least 15 minutes before spooning it into bowls. The filling will hold together better than it does straight from the oven.
Add vanilla ice cream just before serving so it starts melting around the warm apples instead of disappearing into the skillet.
Why the Skillet Works Here
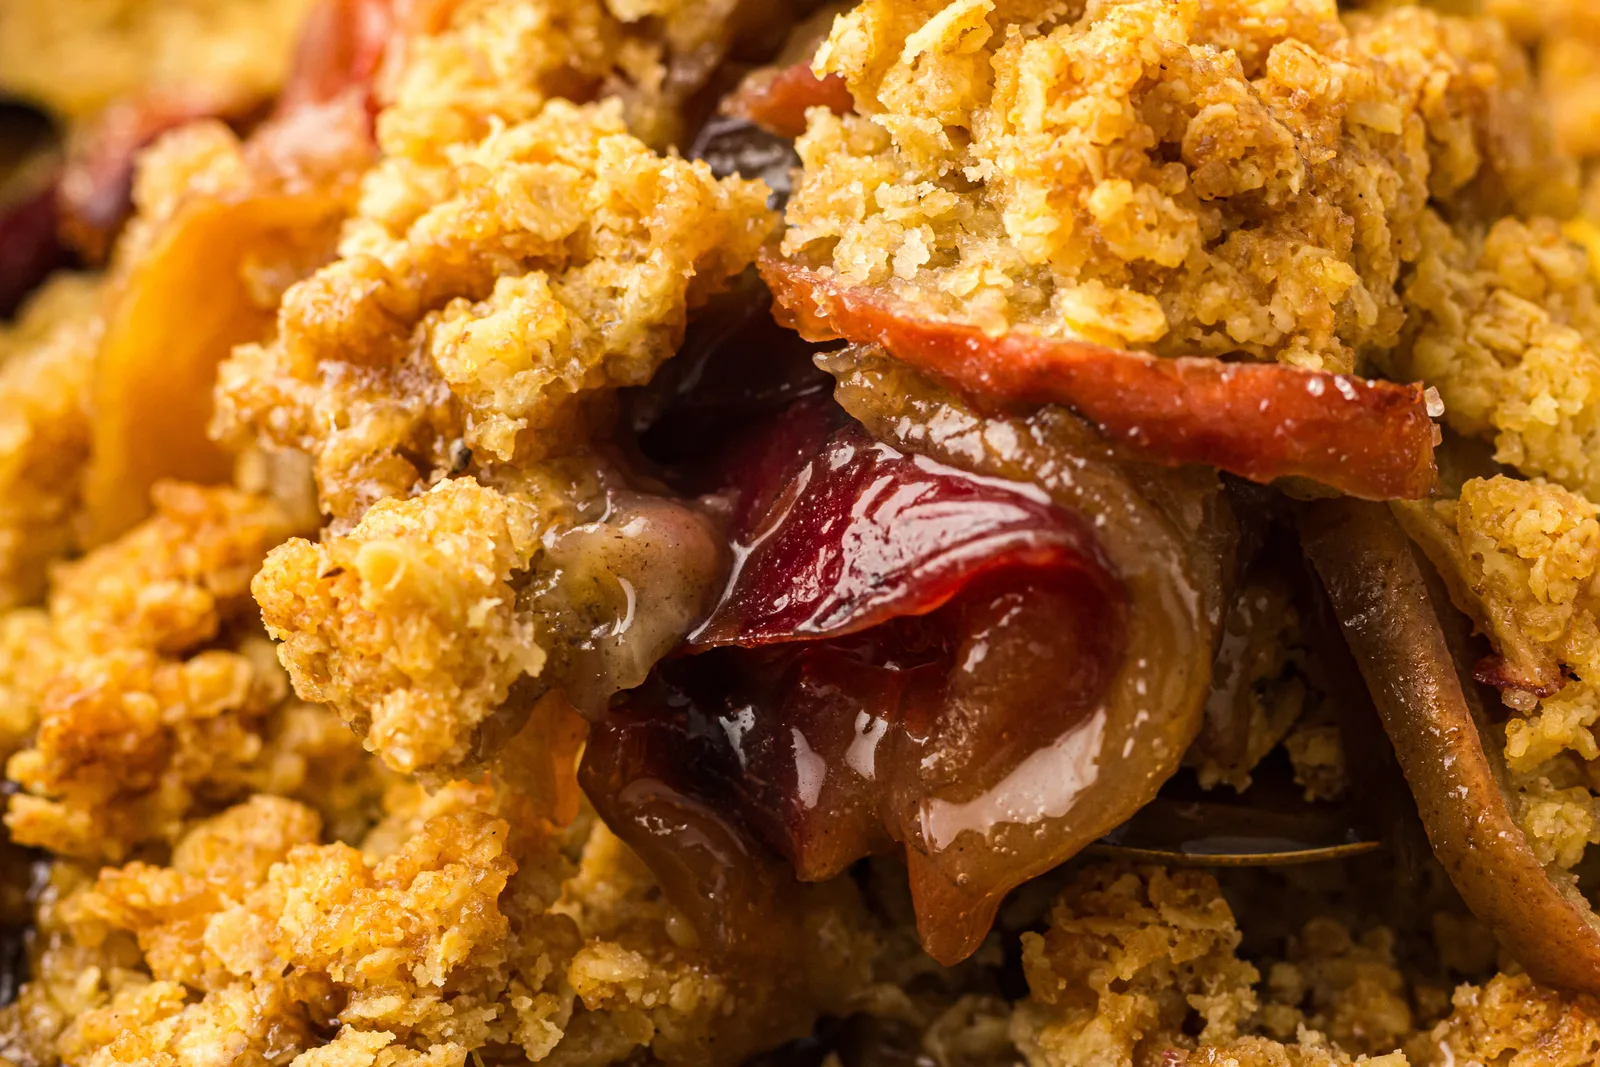
Cast iron holds heat well, so the apples keep cooking steadily while the oat topping turns golden.
The shallow round shape also gives the topping plenty of exposed surface area instead of burying it in a deep baking dish.
The filling may look a little loose when it first comes out. Give it 15 to 20 minutes so the bubbling juices can settle and thicken around the apple slices.
The Best Apples for Apple Crisp
The useful question is not simply whether an apple tastes sweet or tart. It is whether the slices will still be there after 45 minutes in a hot skillet.
Honeycrisp, Pink Lady, Braeburn, and Granny Smith are sturdy choices. A mix is even better when you want some slices to stay firm while others soften into the sauce around them.
Easy Variations
Add nuts: Mix chopped pecans or walnuts into the topping for extra crunch.
Change the spice: Replace 1/4 teaspoon of the cinnamon with ground ginger or nutmeg.
Use a baking dish: A 9-inch square baking dish works if you do not have an oven-safe skillet. Begin checking at 40 minutes.
Peel the apples: Remove the skins if you prefer a softer filling without visible red edges.
How to Serve It
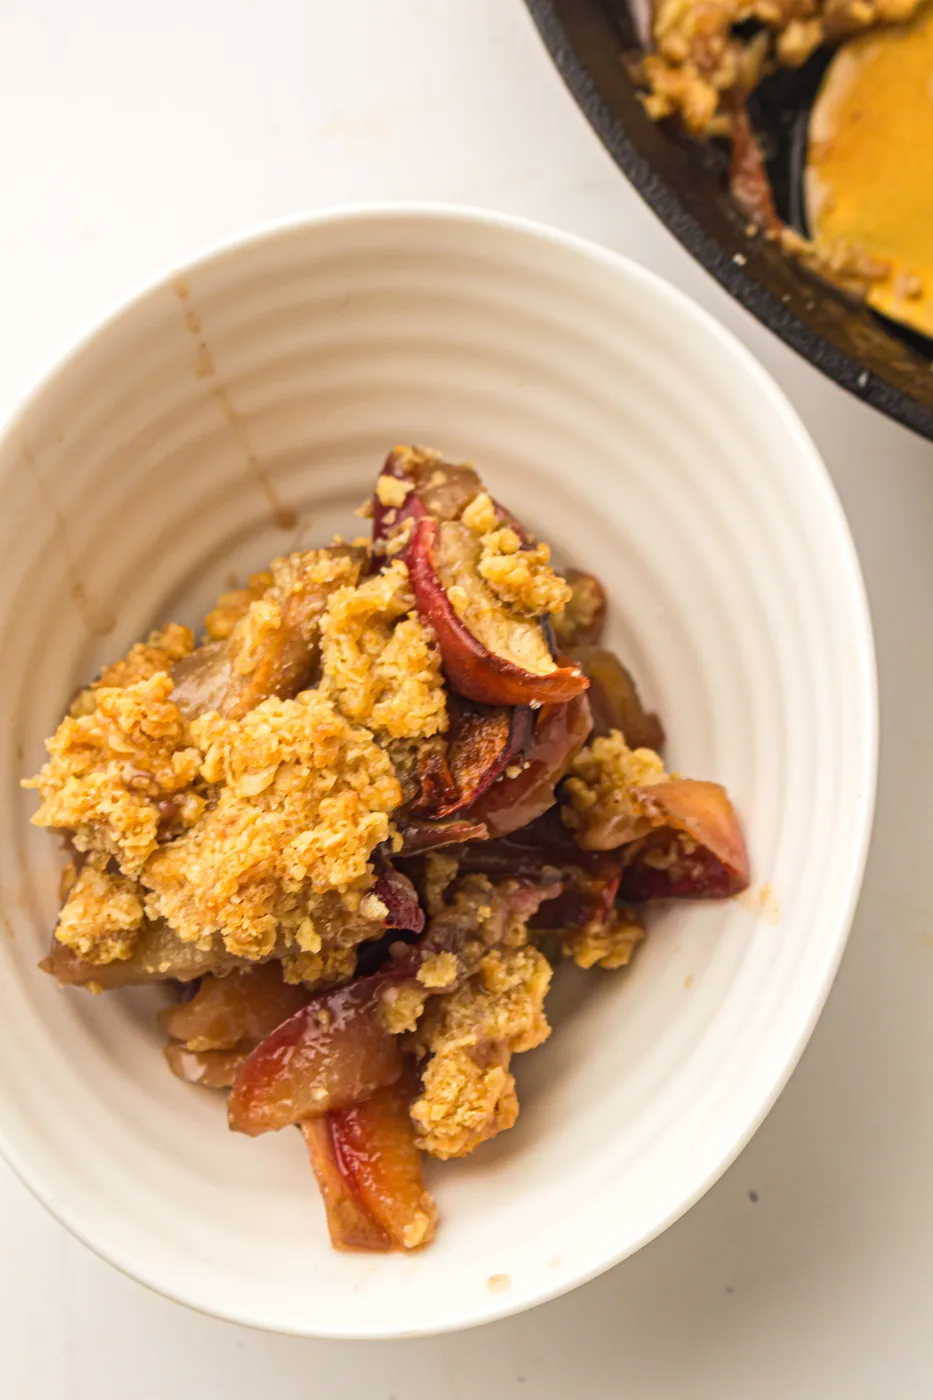
Vanilla ice cream is the obvious answer for a reason. The cold scoop melts into the warm cinnamon apples and catches all the buttery crumbs.
Whipped cream, lightly sweetened yogurt, or a small pour of cold cream also work.
Storage Notes
Move leftovers out of the cast-iron skillet once they have cooled. The fruit’s acidity and moisture are not ideal for long storage against cast iron.
Refrigerate the crisp in a covered container within two hours and use it within four days.
Warm individual servings in the microwave, or reheat a larger portion in a 325°F oven until hot. The oven does a better job of waking the topping back up.
Quick Apple Crisp Questions
Do I have to peel the apples? No. Leaving the skins on saves time and gives the filling the red edges shown here. Peel them if you prefer a softer, more uniform texture.
Why is my apple crisp watery? It may need more baking time or more resting time. Look for bubbling around the edge, then let it stand for at least 15 minutes so the juices can thicken.
Can I make the topping ahead? Yes. Mix it, cover it, and refrigerate it for up to two days. Add it to the apples just before baking.
Can I use old-fashioned rolled oats? Yes. They make a slightly looser, chewier topping. Quick oats create the more cohesive crumbles shown in the photos.
Easy Skillet Apple Crisp
Tender cinnamon apples bake under a buttery oat topping in this easy cast-iron skillet apple crisp. Serve it warm with vanilla ice cream.
- Total Time1 hour 20 minutes
- Yield8 servings 1x
- DietVegetarian
Ingredients
Apple filling
- 6 medium firm baking apples, about 2 1/2 pounds total
- 1/3 cup turbinado sugar or packed light brown sugar
- 2 tablespoons all-purpose flour
- 1 teaspoon ground cinnamon
- 1/4 teaspoon fine salt
- 2 tablespoons unsalted butter, melted
Oat topping
- 1 cup quick-cooking oats
- 3/4 cup all-purpose flour
- 3/4 cup turbinado sugar or packed light brown sugar
- 1/2 teaspoon ground cinnamon
- 1/4 teaspoon fine salt
- 1/2 cup unsalted butter, melted
Instructions
- Heat the oven to 375°F. Lightly butter a 10-inch cast-iron skillet and place it on a rimmed baking sheet.
- Core the apples and slice them into roughly 1/4-inch wedges, leaving the skins on if desired.
- Toss the apples with the filling sugar, flour, cinnamon, salt, and melted butter until evenly coated.
- In a separate bowl, stir the oats, flour, topping sugar, cinnamon, and salt together. Mix in the melted butter until moist clumps form.
- Spread the apples in the skillet and scatter the topping loosely over them.
- Bake for 40 to 45 minutes, until the topping is golden, the filling bubbles around the edge, and the apples are tender when pierced.
- Rest for at least 15 minutes before serving.
Notes
- Firm baking apples hold their shape better than soft varieties.
- Put the skillet on a rimmed baking sheet to catch any bubbling juices.
- Cover the top loosely with foil if it browns before the apples are tender.
- Refrigerate leftovers within two hours and use them within four days.
- Prep Time: 20 minutes
- Resting time: 15 minutes
- Cook Time: 45 minutes
- Category: Dessert
- Method: Baking
- Cuisine: American
