
4th of July Mini No-Bake Cheesecakes
So if you’ve been scrolling for a 4th of July dessert that actually looks like the fireworks, this is the one.
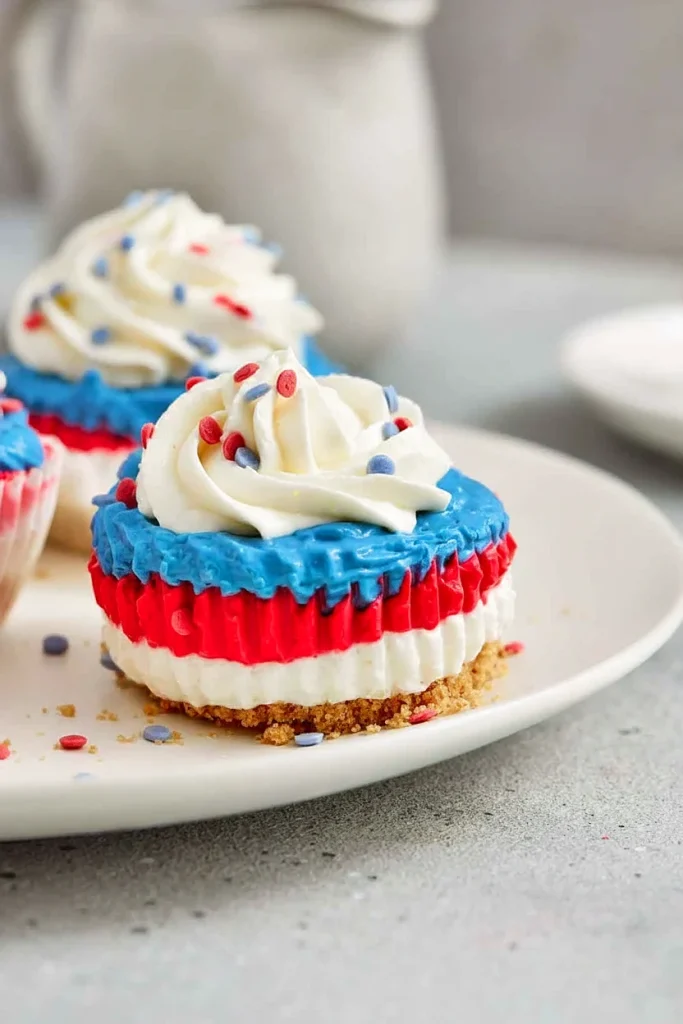
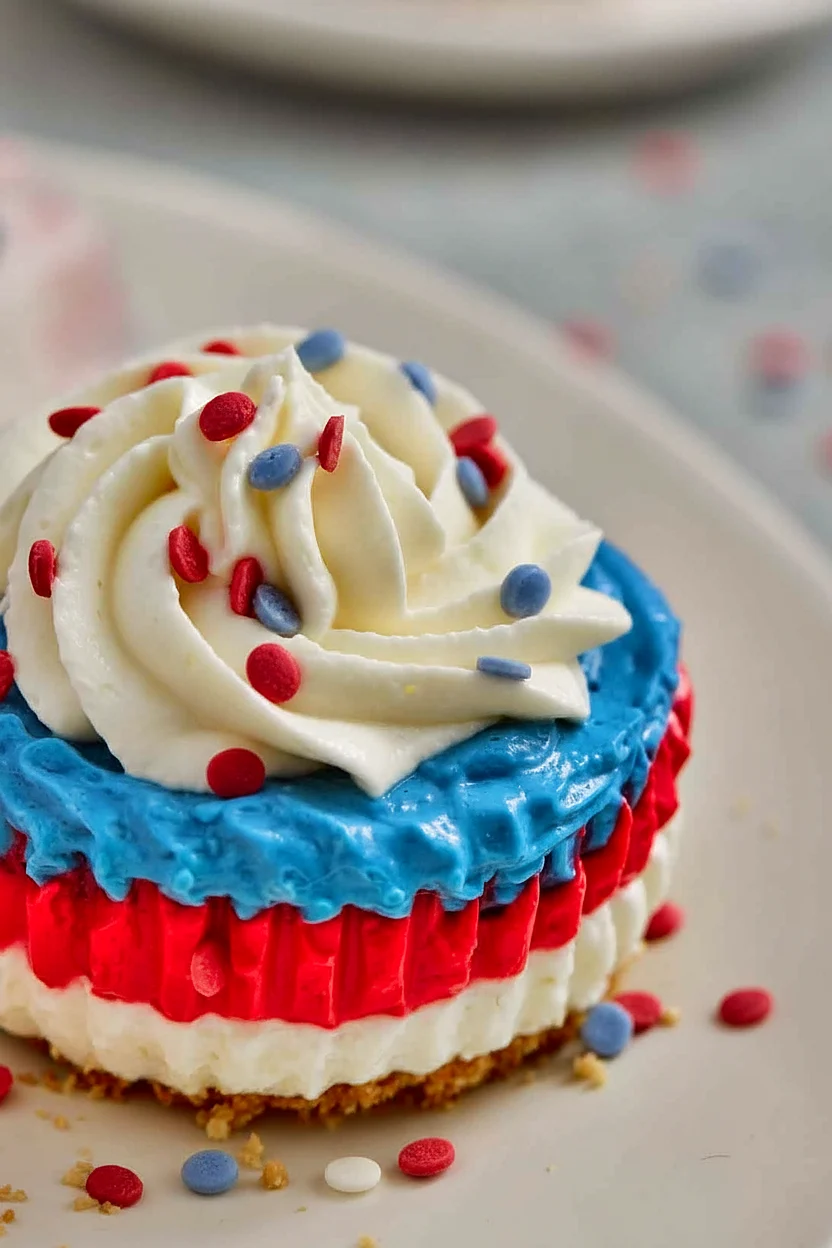
These mini no bake cheesecakes are layered in red, white, and blue and they look way fancier than they have any right to be.
No oven. No water bath. No cracked tops. Honestly, it’s a summer miracle.
The base is a buttery graham cracker crust, then there’s three smooth cheesecake layers tinted with gel food coloring, and a swirl of whipped cream on top with patriotic sprinkles.
They sit in cupcake liners so there’s no fussing with a springform pan or trying to slice anything cleanly while your cousins are watching.
You make them, chill them, top em, done.
If you want more festive ideas to round out the spread, these would sit pretty next to my Patriotic Popcorn, Red, White & Blue Chocolate Bark, and Red, White & Blue Trifle on any 4th of July dessert table.

Spending $200 at the store and still hitting a blank at dinnertime?
Frugal Recipes has 100 real family meals built on the cheapest ingredients at your store – all on gorgeous printable cards with a 4-week meal plan (breakfast, lunch, dinner), including a weekly grocery list and a dinner rotation page for your family.
And just $7.99 this week with code MAY50. Get it here – 50% off.
Why You’ll Love These Mini Cheesecakes
No baking at all, which is huge when it’s 90 degrees and the AC is already working overtime.
The layered look does all the talking, you don’t really need to decorate anything fancy beyond a swirl and a few sprinkles.
They’re individually portioned so there’s no slicing, no plating, no drama.
Make them the night before and pull them out right before the cookout. Done.
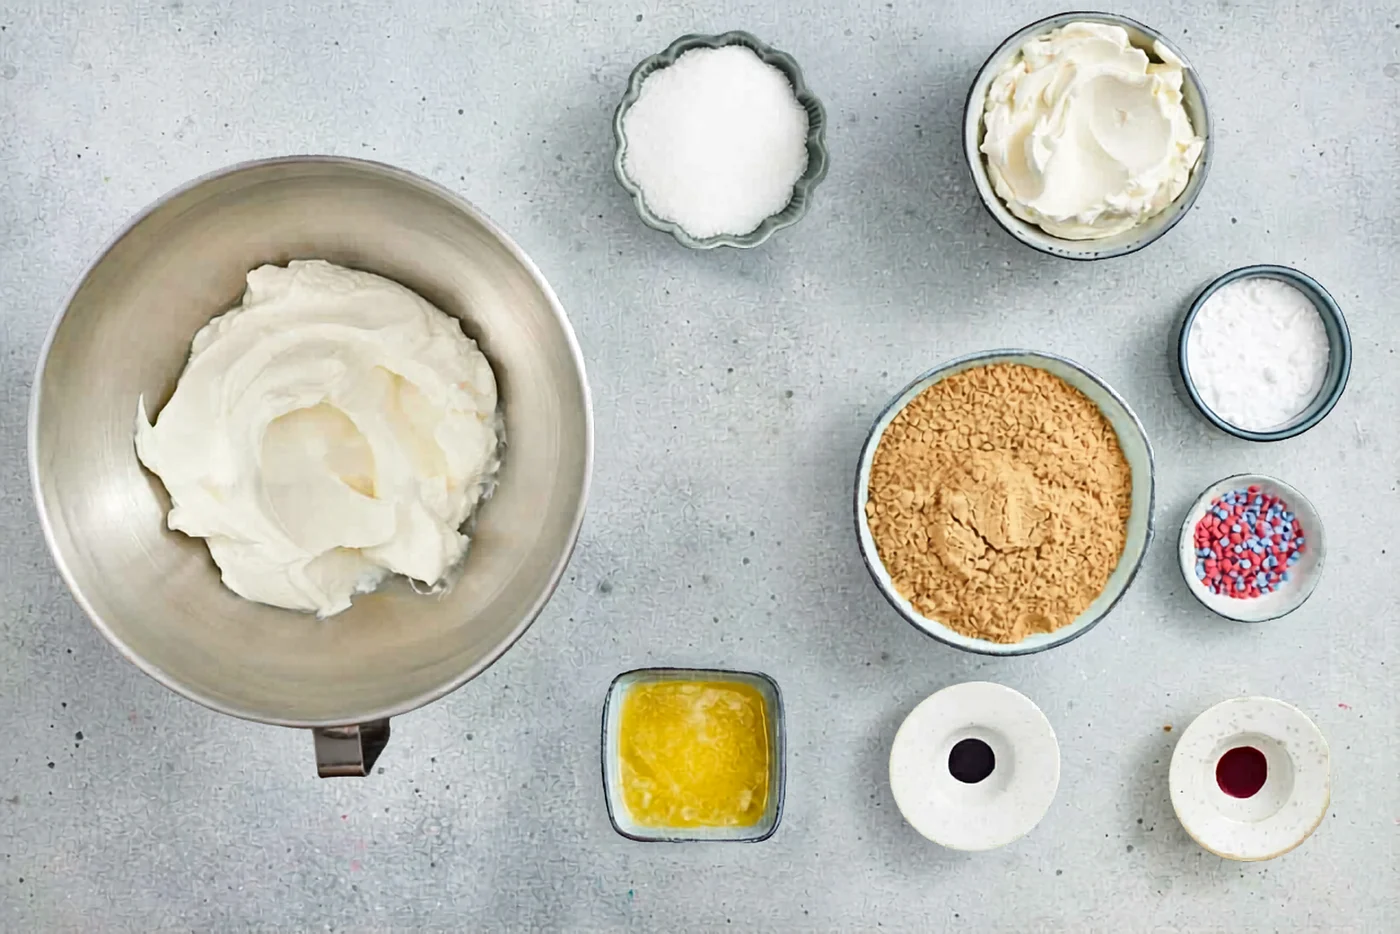
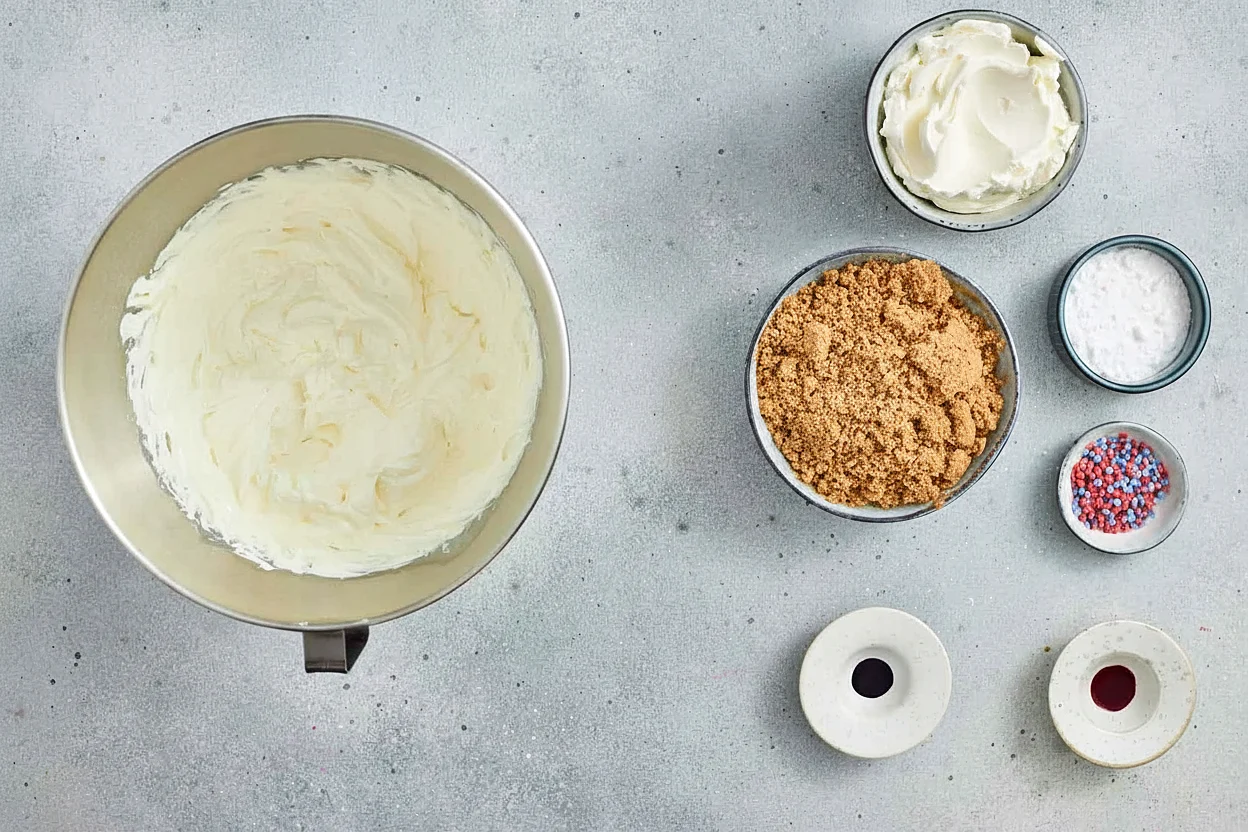
Ingredients You Need
How To Make 4th of July Mini No-Bake Cheesecakes
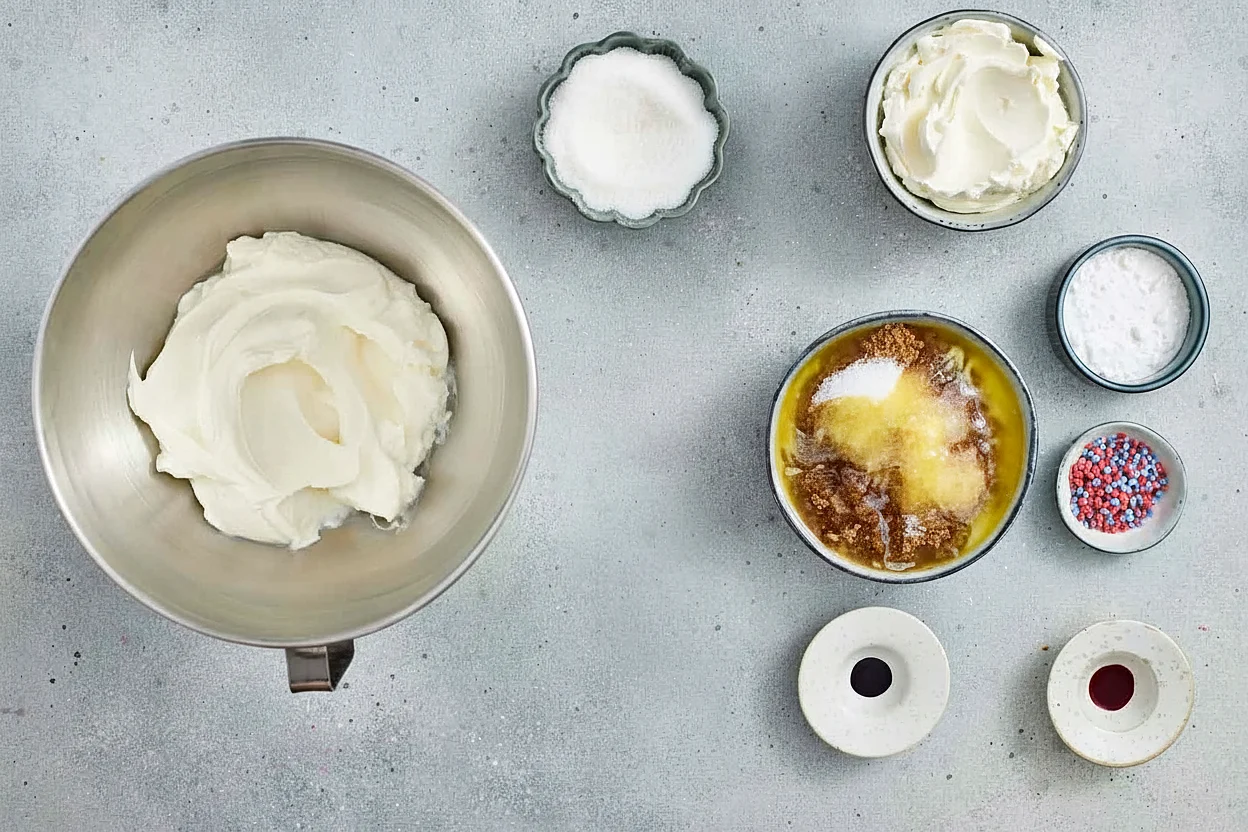
1. Make the graham cracker crust
Stir together the graham cracker crumbs, a spoonful of the sugar, and the melted butter in a small bowl until it looks like wet sand.
You want it to clump when you squeeze it between your fingers, if its too dry, add a tiny splash more melted butter.
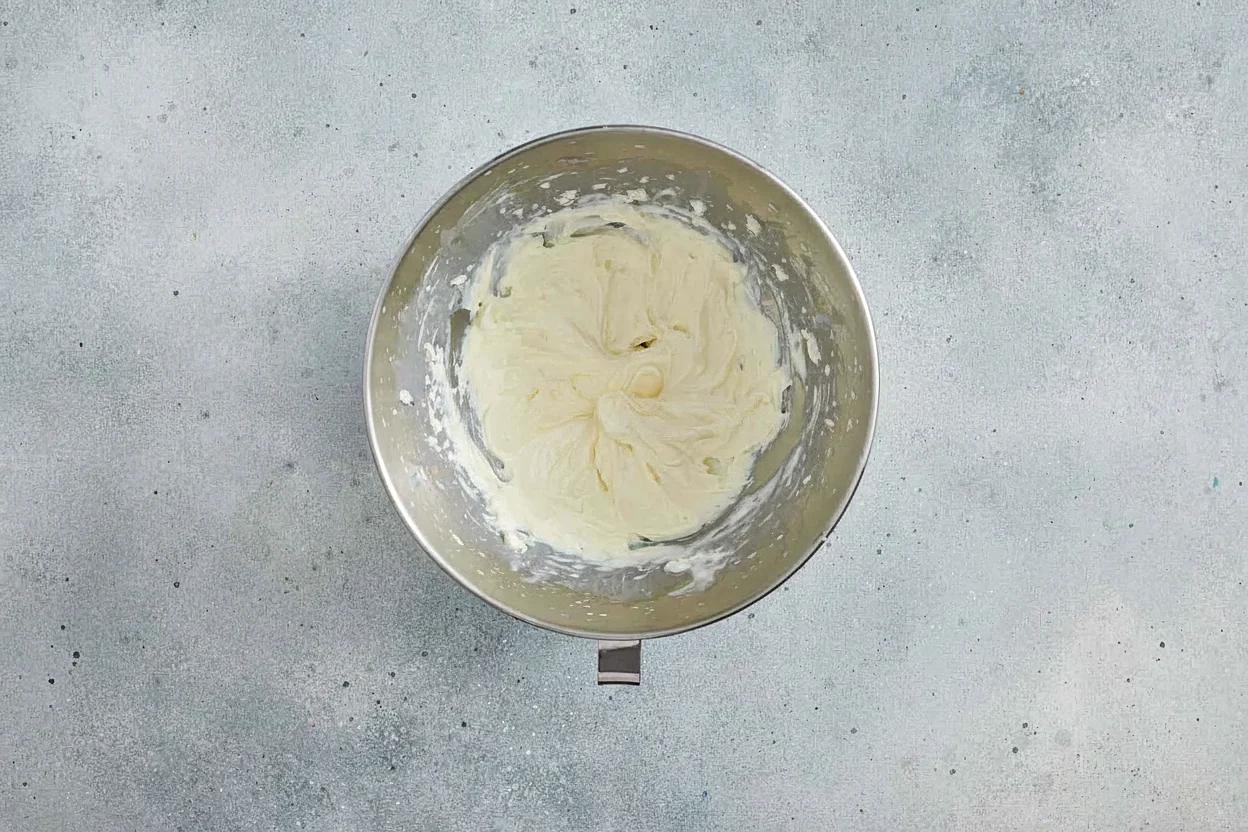
2. Beat the cream cheese smooth
Drop your softened cream cheese into the bowl of a stand mixer fitted with the paddle.
Beat it on medium til its totally smooth with no lumps. This part really matters cause lumpy cream cheese will haunt you in every bite.
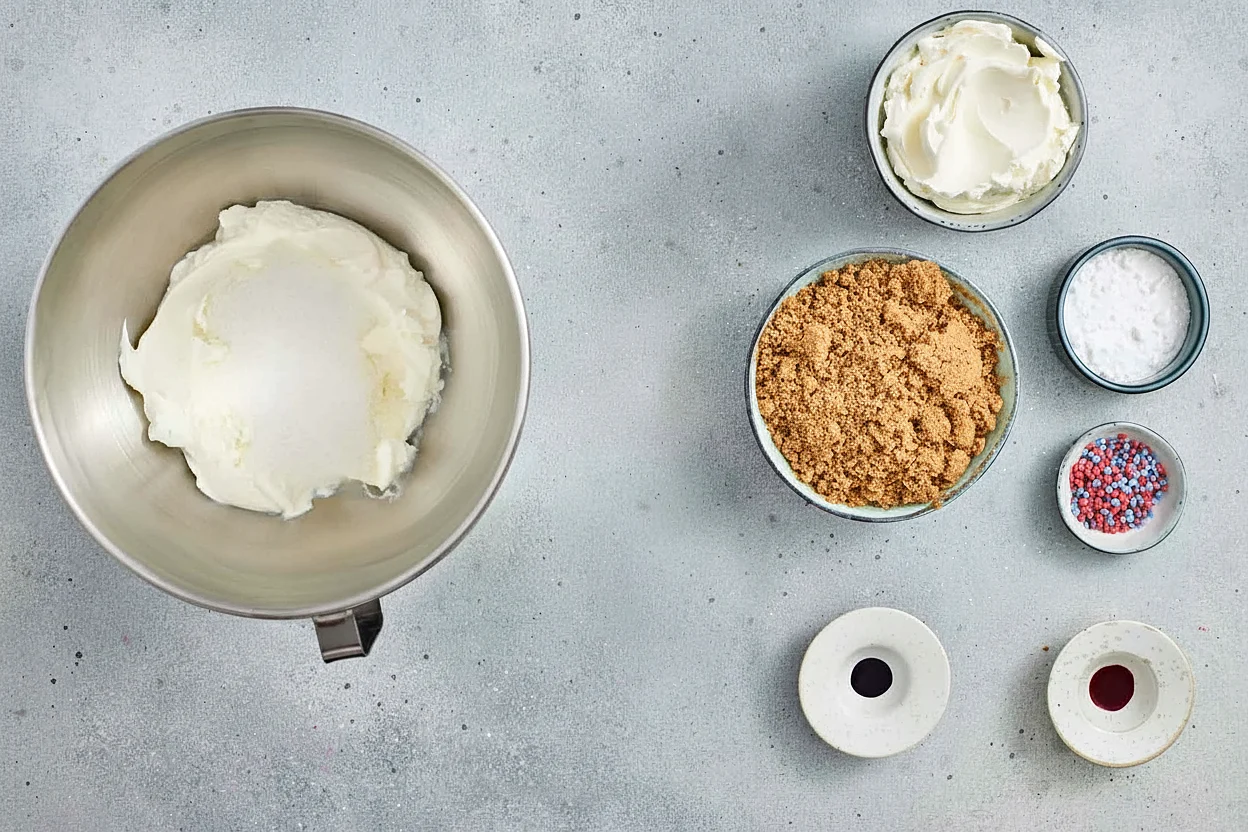
3. Add the sugar and a pinch of salt
Sprinkle in the granulated sugar and that tiny pinch of salt.
Keep beating til everything looks like silky frosting, pale, fluffy, no graininess from the sugar.
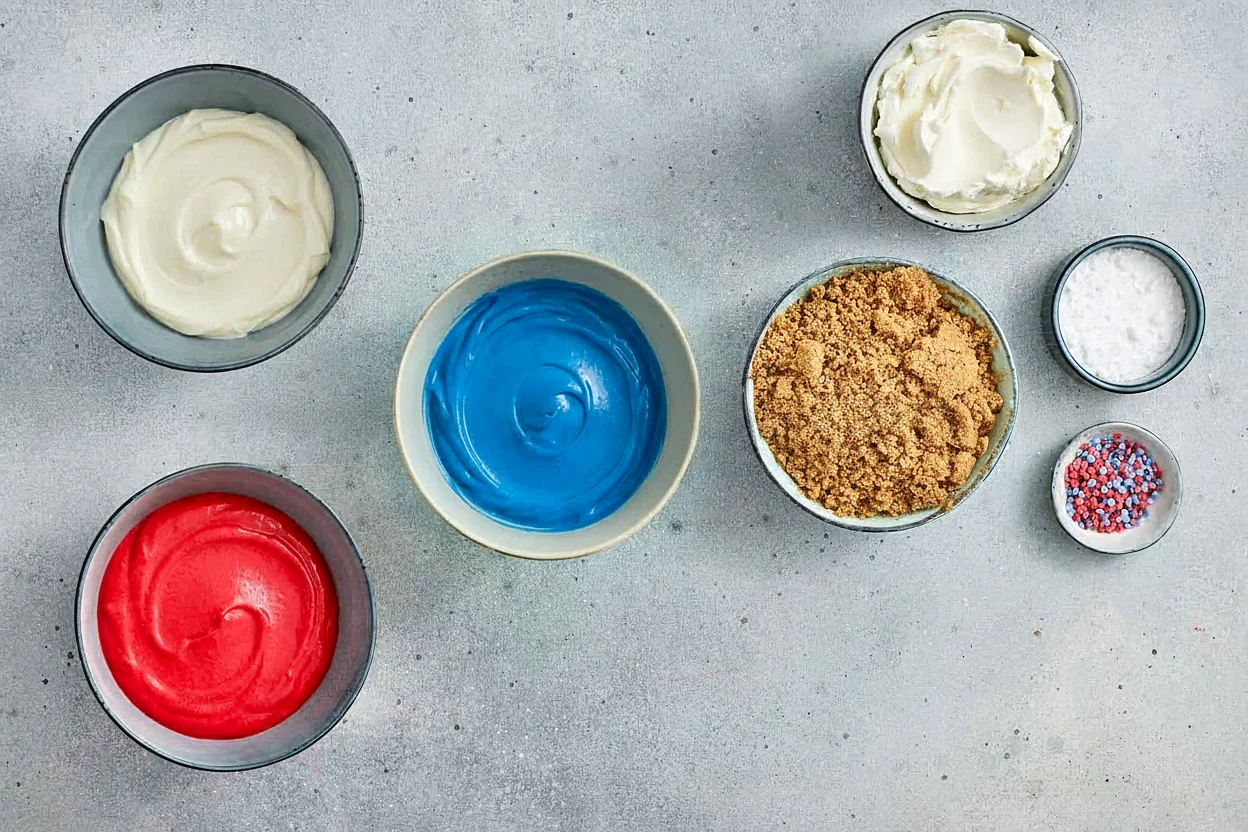
4. Divide and color
Scoop the cheesecake filling into three bowls, splitting it as evenly as you can.
Leave one plain white. Add a few drops of red gel coloring to the second, and blue gel coloring to the third.

Stir each one with a clean spatula til the color is even and there are no streaks.
Gel is way better than liquid food coloring here, you get vivid red and blue without thinning out your filling.
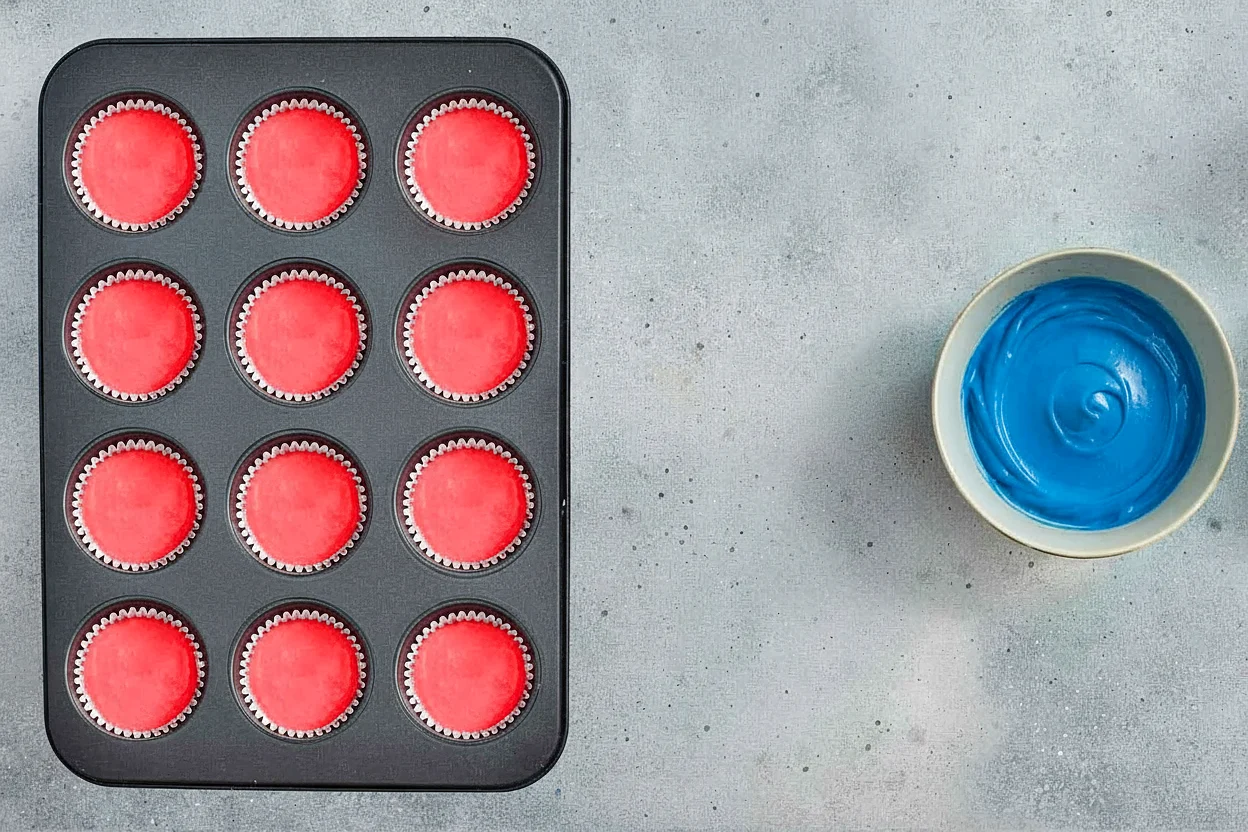
5. Press the crust into your liners
Line a standard 12 cup muffin pan with cupcake liners.
Spoon about a tablespoon of the graham mixture into each liner.
Press it down firmly with the back of a small spoon or the bottom of a shot glass til its tight and flat, this is your foundation, dont be shy with it.

6. Spoon in the white layer
Drop a small spoonful of the plain white filling over each crust.
Tap the pan gently on the counter to smooth it out, so it settles into an even layer.

7. Add the red layer
Spoon the red filling over the white layer in each liner.
Tap the pan again so the red settles flat. Try not to push it down with a spoon or you’ll mix the colors and the layers wont look as crisp.
8. Top with the blue layer
Finish with a spoonful of blue filling on top of each one.
Smooth the tops with the back of a spoon so they look clean.
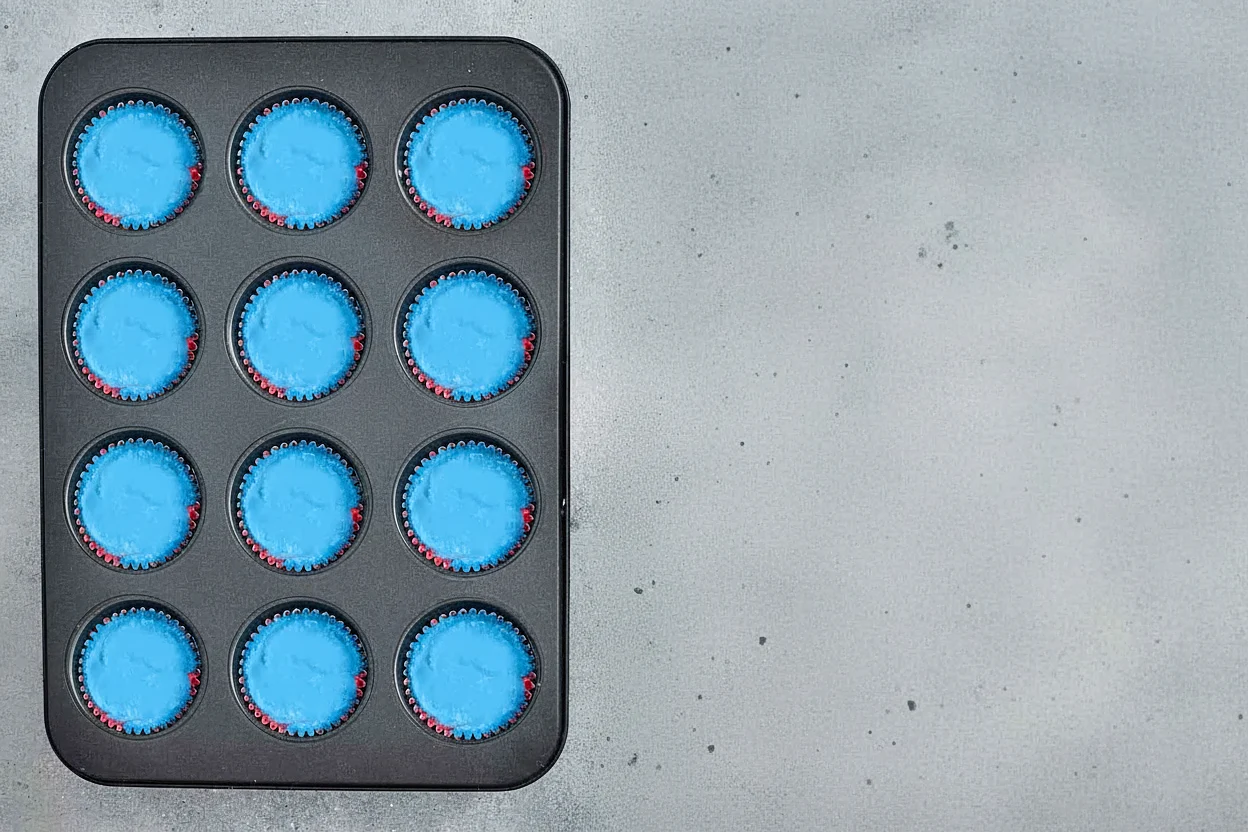
Pop the whole pan into the fridge for at least 4 hours, or overnight if you can swing it.
9. Whip the heavy cream
Once your cheesecakes are firm, pour cold heavy whipping cream into a clean mixer bowl with the powdered sugar.
Start slow then crank it up to medium high and whip til stiff peaks form.

You’re looking for that point where the cream holds its shape when you lift the whisk and the peak doesn’t flop over.
10. Pipe and finish
Scoop the whipped cream into a piping bag fitted with a star tip.
Pipe a swirl right onto each cheesecake, start from the outside and spiral in for that classic rosette look.

Shower em with red, white, and blue sprinkles while the cream is still soft so they actually stick.
Peel the cupcake liner back when you serve, or keep it on, both look great.

Why This Method Just Works
No bake cheesecake sets up in the fridge from the cream cheese itself, so you don’t need gelatin or any of that.
Layering the colors when the filling is still soft means each one sits flush against the next. No air pockets, no messy bleed lines.
And piping the whipped cream fresh, right before serving, keeps it pillowy instead of weeping all over your cheesecake.

Little Things That Make A Big Difference
Use full fat cream cheese in the blocks, not the spreadable stuff in tubs — it has more water and your layers wont hold their shape as cleanly.
Let the cream cheese sit out for about 30 to 45 minutes before you start, so it whips up smooth.
Gel food coloring over liquid every single time, vivid color, no extra moisture messing with the texture.
If you can park the cheesecakes in the fridge overnight, do it. They slice cleaner, taste better, and the layers really set in.
A small cookie scoop makes portioning each color way easier than spoons.
How To Serve Them
Set them out on a white platter so the red, white, and blue really pop against the background.
These look killer next to fresh berries, sliced strawberries and blueberries scattered around the plate basically does the styling for you.
They work for Memorial Day, 4th of July, Labor Day, basically any patriotic backyard moment.
Keeping Them Fresh
Store the cheesecakes in an airtight container in the fridge for up to 4 days.
If you haven’t topped em with whipped cream yet, even better. Pipe fresh whipped cream right before serving so it stays clean.
You can also freeze the undecorated cheesecake bases for up to a month. Thaw em in the fridge overnight, then add the whipped cream and sprinkles.
Common Questions
Can I make these without a stand mixer?
Yea, a hand mixer works just fine for both the cream cheese filling and the whipped cream.
It’ll just take a little longer to get the cream cheese fully smooth, so be patient and scrape the bowl a few times.
Will the colors bleed into each other?
Not really, as long as you use thick cream cheese filling and don’t stir the layers together.
Once the cheesecakes chill, the layers set up against each other clean and crisp.
Can I use Cool Whip instead of homemade whipped cream?
Sure, if that’s your move. Cool Whip holds its shape really well and is super easy.
Just spoon or pipe it on right before serving the same way.
What if I don’t have a piping bag?
A zip top bag with a corner snipped off works in a pinch.
Or just spoon a dollop of whipped cream on top. Still cute, still delicious.
Can I make this in one big pan instead of mini ones?
Totally! Press the crust into an 8 or 9 inch springform and layer the colors the same way.
You’ll need to chill it longer though, more like 6 to 8 hours so the layers hold when you slice.
Do I need to use cupcake liners?
Yes, definitely. They make popping the cheesecakes out of the pan a hundred times easier.
Without em you’d basically have to dig the cheesecakes out, and nobody wants that.
4th of July Mini No-Bake Cheesecakes
These 4th of July mini no bake cheesecakes have a buttery graham cracker crust, three layers of red, white, and blue cheesecake filling, and a fluffy whipped cream swirl with patriotic sprinkles. The cutest no bake dessert for any summer cookout.
- Total Time4 hours 30 minutes
- Yield12 mini cheesecakes 1x
- DietVegetarian
Ingredients
- 1½ cups heavy whipping cream, cold (divided)
- 16 oz cream cheese (two 8 oz blocks), softened
- ½ cup granulated sugar
- pinch of salt1½ cups graham cracker crumbs
- ¼ cup unsalted butter, melted
- 1 tablespoon granulated sugar (for crust)
- red gel food coloring
- blue gel food coloring
- ¼ cup powdered sugar (for whipped cream)
- red, white & blue sprinkles, for topping
Instructions
- Stir graham cracker crumbs, 1 tablespoon sugar, and melted butter together in a small bowl until evenly moistened.
- Line a 12 cup muffin pan with cupcake liners. Press about 1 tablespoon of the crumb mixture into the bottom of each liner, packing it firmly.
- In a stand mixer, beat the softened cream cheese on medium until completely smooth, scraping the bowl as needed.
- Add the ½ cup granulated sugar and pinch of salt. Beat until silky and fluffy.
- Pour in 1 cup of the cold heavy cream and beat on medium high until the filling is thick and holds its shape.
- Divide the filling evenly among 3 bowls. Leave one plain, tint one red with gel food coloring, and tint one blue with gel food coloring.
- Spoon the white filling over the crust in each liner. Tap the pan on the counter to settle the layer.
- Spoon the red filling over the white layer in each liner. Tap to settle.
- Spoon the blue filling on top. Smooth the surface gently.
- Refrigerate for at least 4 hours or overnight, until firm.
- Whip the remaining ½ cup heavy cream with the powdered sugar to stiff peaks.
- Transfer whipped cream to a piping bag fitted with a star tip and pipe a swirl onto each cheesecake.
- Top with red, white & blue sprinkles. Serve cold
Notes
- Use full fat cream cheese in blocks, not the spreadable kind in tubs.
- Gel food coloring works much better than liquid for vivid color without thinning the filling.
- Cold heavy cream whips faster chill the mixer bowl too if you have time.
- Cheesecakes can be made a day ahead. Hold off on piping whipped cream until just before serving.
- Store leftovers covered in the fridge for up to 4 days.
- Prep Time: 30 minutes
- Chill Time: 4 hours
- Cook Time: 0 minutes
- Category: Dessert
- Method: No Cook
- Cuisine: American
Check Out More 4th of July Recipe Ideas!
4th of July Classic Potato Salad
4th of July Cupcakes (Tie-Dye Swirl)