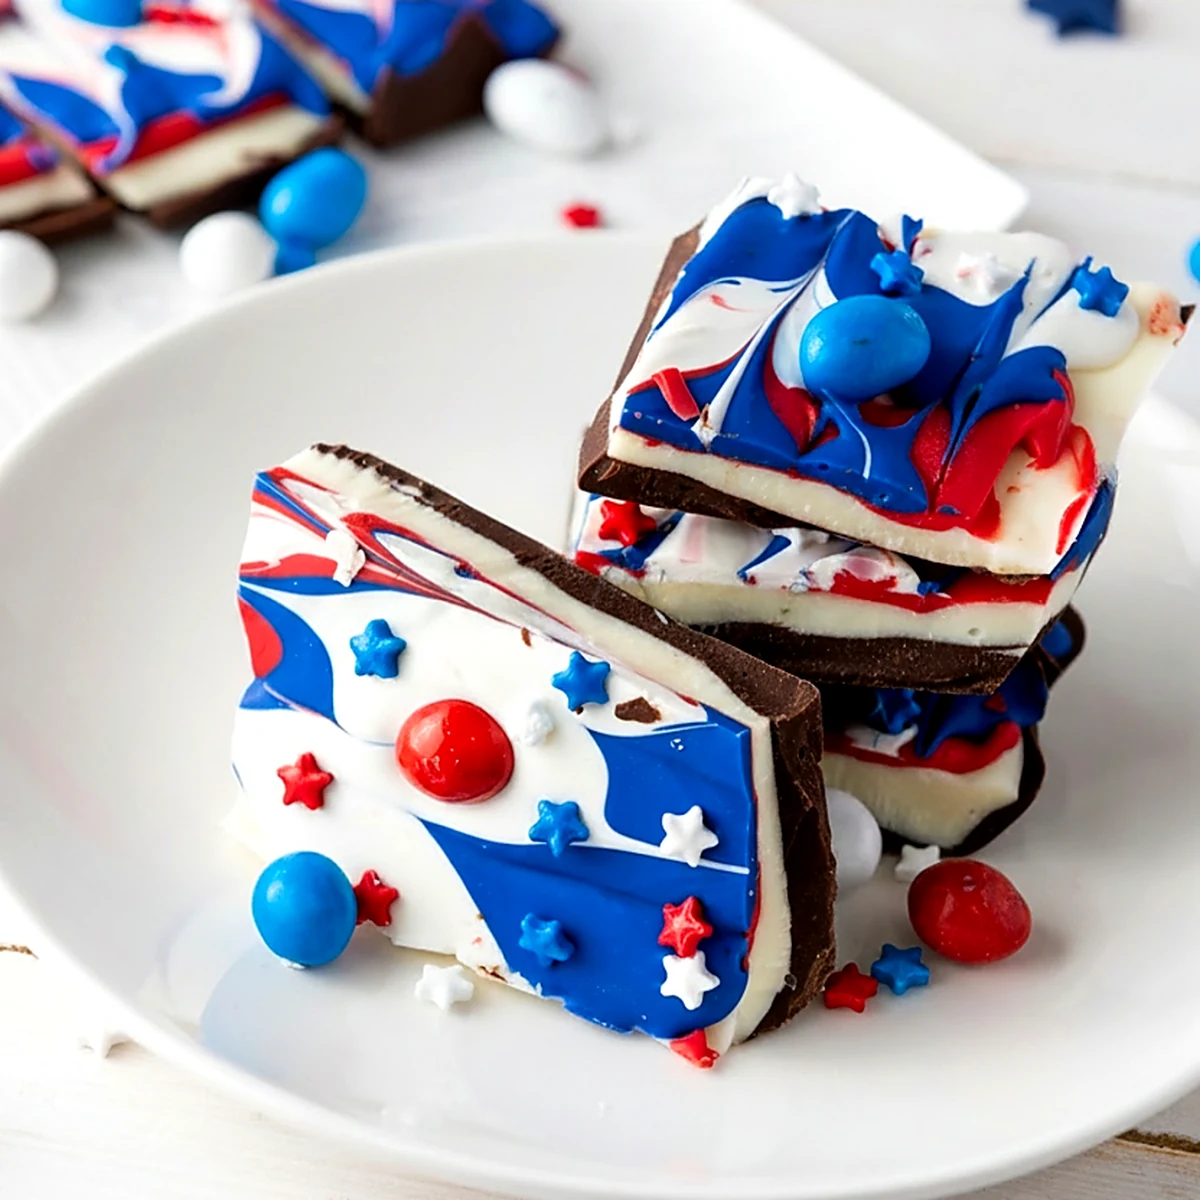
Red White and Blue Chocolate Bark
Some desserts politely sit on the table, and then there is red white and blue chocolate bark looking like edible fireworks.
This no-bake candy bark is sweet, crunchy, colorful, and easy enough to pull off without turning the kitchen into a whole production.
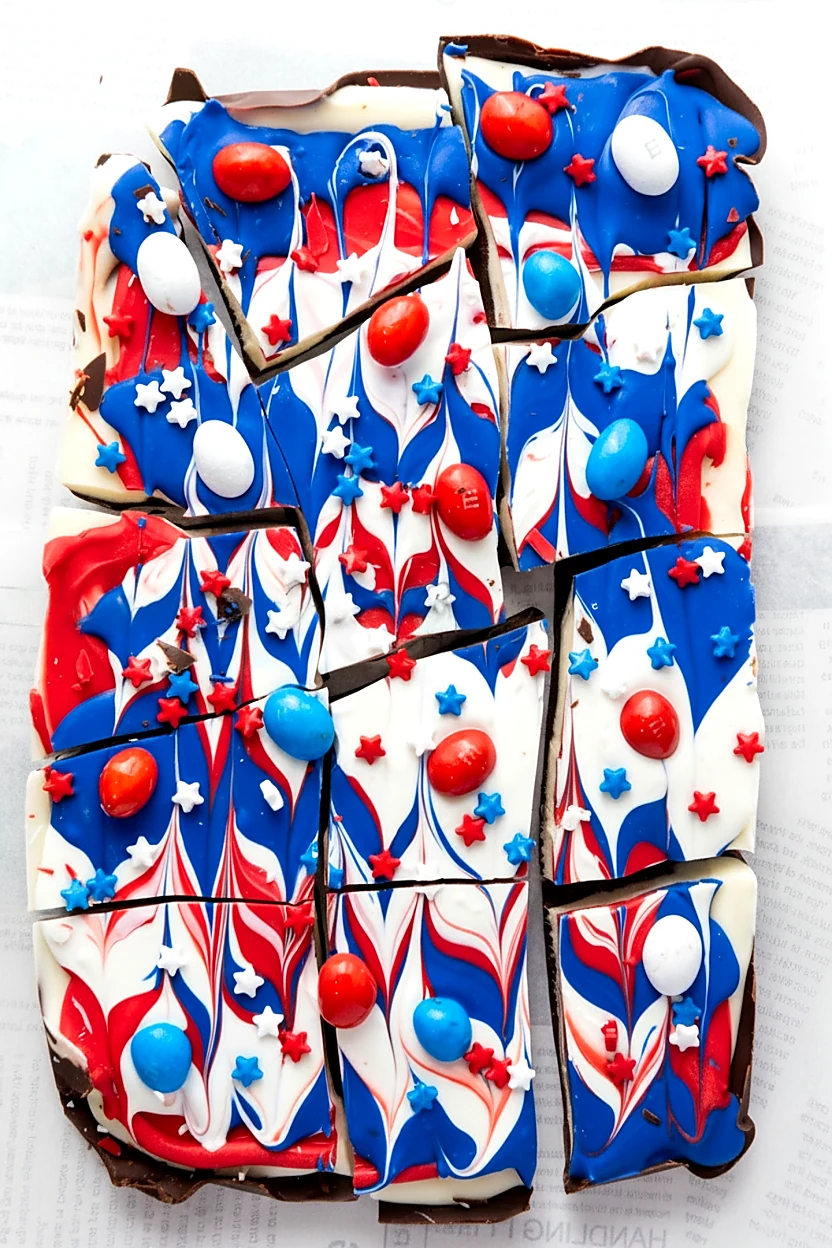
It starts with a smooth chocolate base, gets a creamy white layer, then the red and blue candy melts swirl through like they know they are the main character.
The candies and star sprinkles go on while the top is still soft, so every broken piece gets a little party confetti situation.
This bark is made for the 4th of July, Memorial Day, Labor Day, cookout dessert trays, party favors, and any snack table that needs something low effort but loud in the fun way.
For the rest of the table, it fits nicely beside Patriotic Charcuterie Board for Summer Parties, 4th of July Strawberry Lemonade, and 4th of July Hot Dogs.

Spending $200 at the store and still hitting a blank at dinnertime?
Frugal Recipes has 100 real family meals built on the cheapest ingredients at your store – all on gorgeous printable cards with a 4-week meal plan (breakfast, lunch, dinner), including a weekly grocery list and a dinner rotation page for your family.
And just $7.99 this week with code MAY50. Get it here – 50% off.
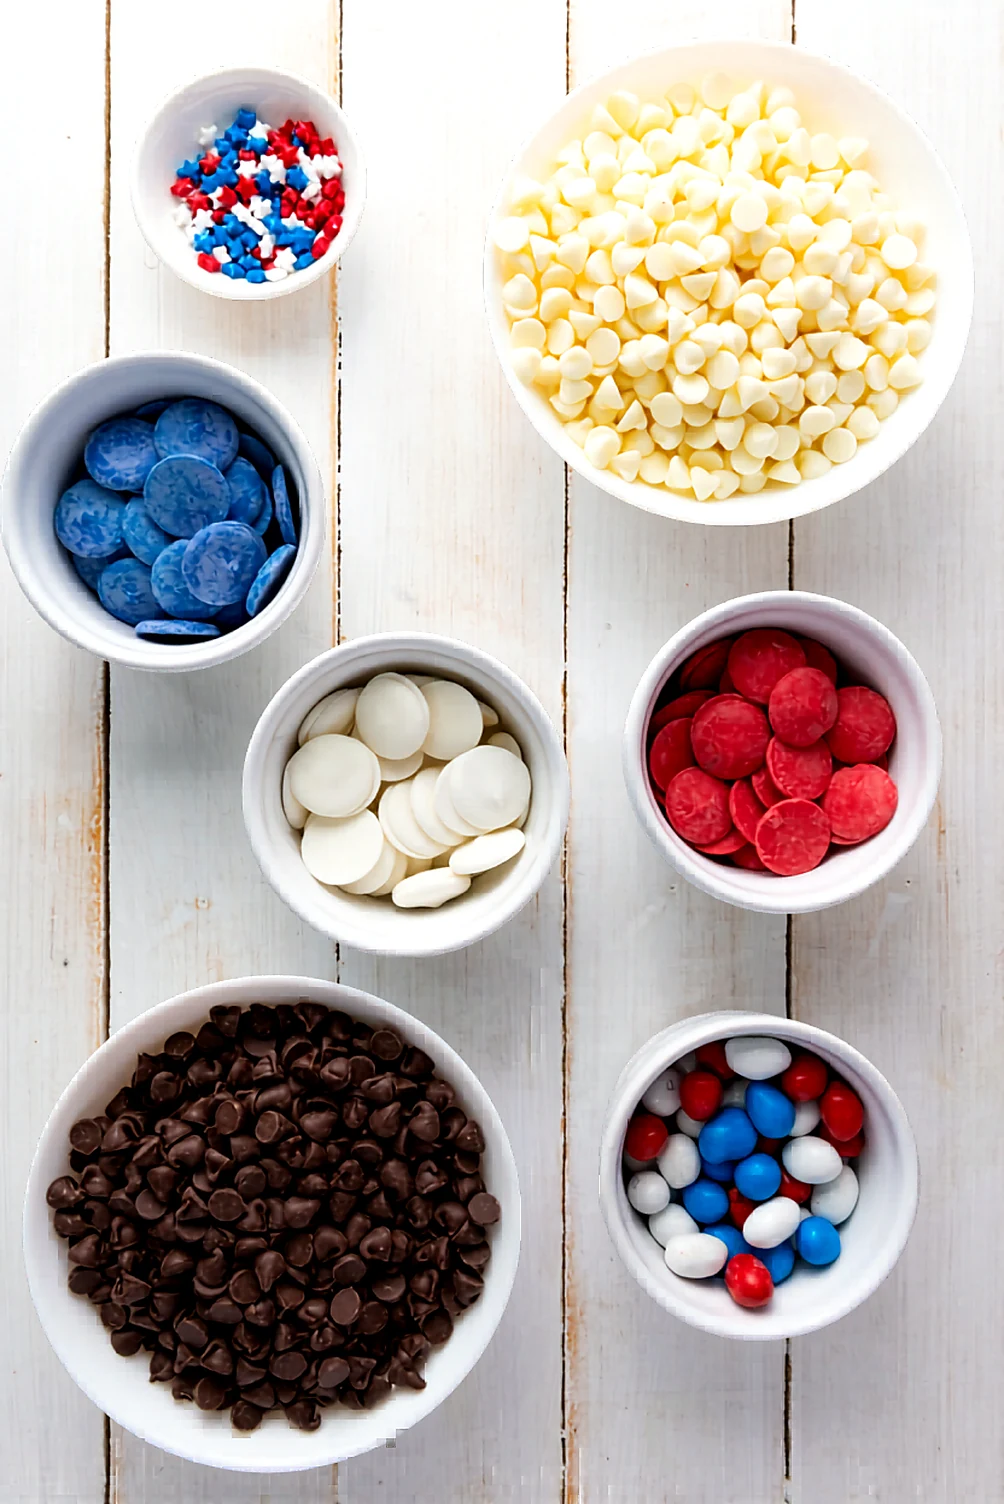
Ingredients You Need
The colors do the decorating here, so the ingredient list stays nice and simple.
How To Make Red White and Blue Chocolate Bark
Have your pan lined before melting anything, because melted chocolate waits for no one.
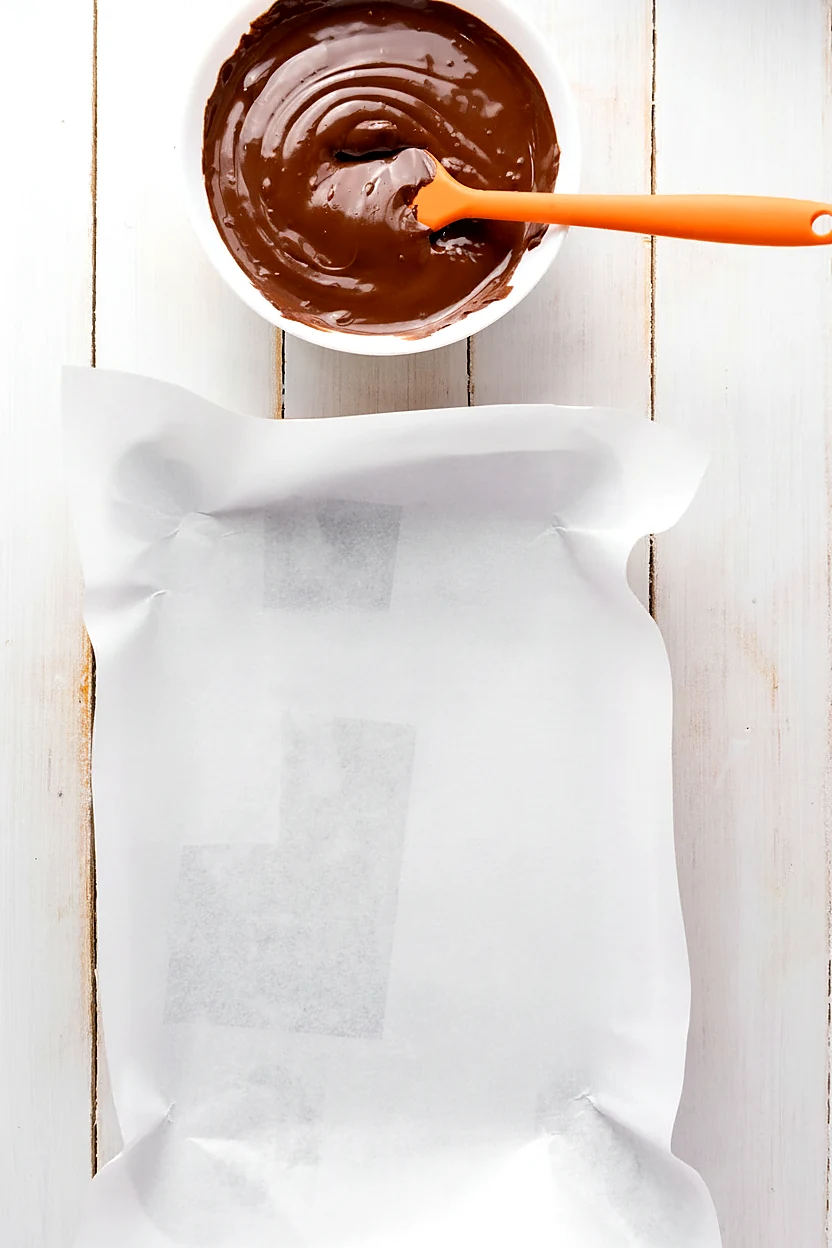
1. Line the pan and melt the dark chocolate.
Line a rectangular baking pan with parchment paper, leaving a little overhang so the bark lifts out cleanly later.
Melt the semi-sweet chocolate chips until smooth, stirring until the bowl looks glossy and ready to spread.
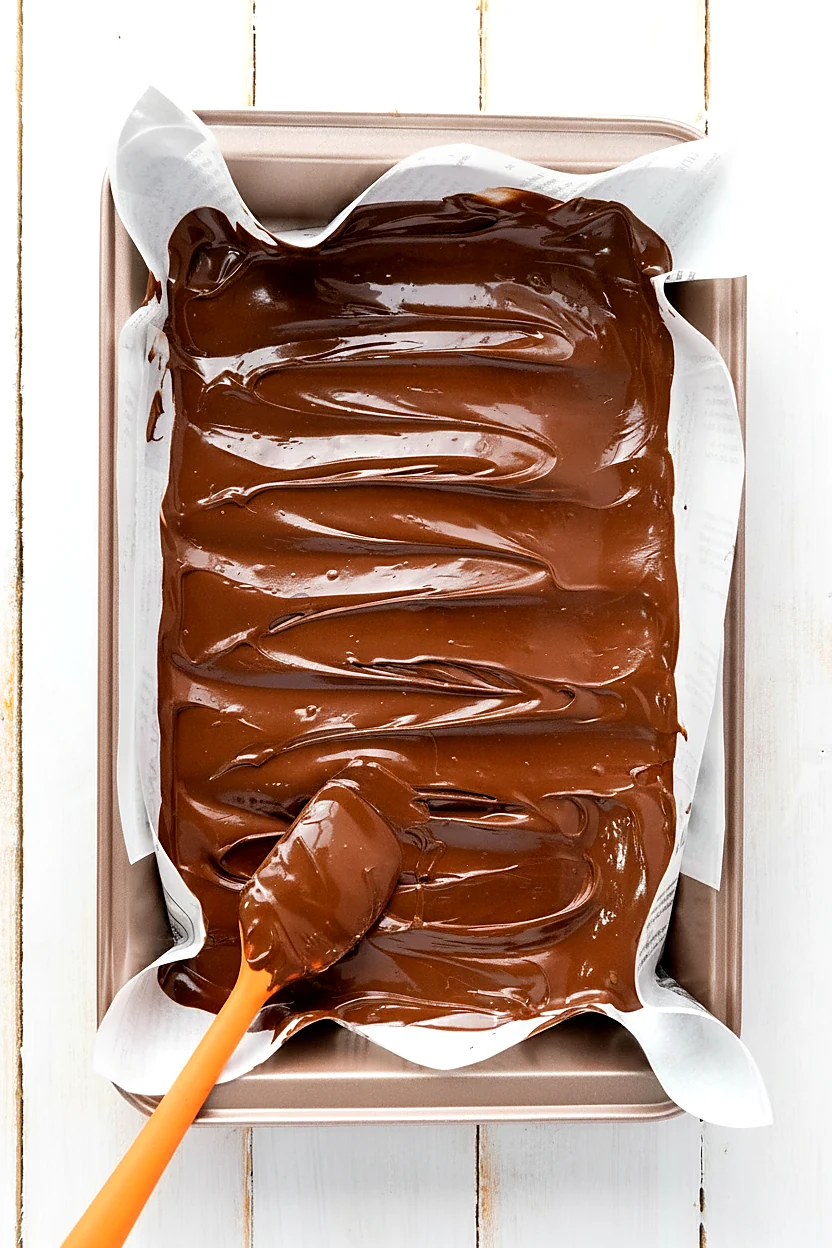
2. Spread the chocolate base.
Pour the melted chocolate into the lined pan and spread it into an even layer that reaches the corners.
Do not worry about perfect swoops on the top, because this layer mostly hides under the white chocolate anyway.
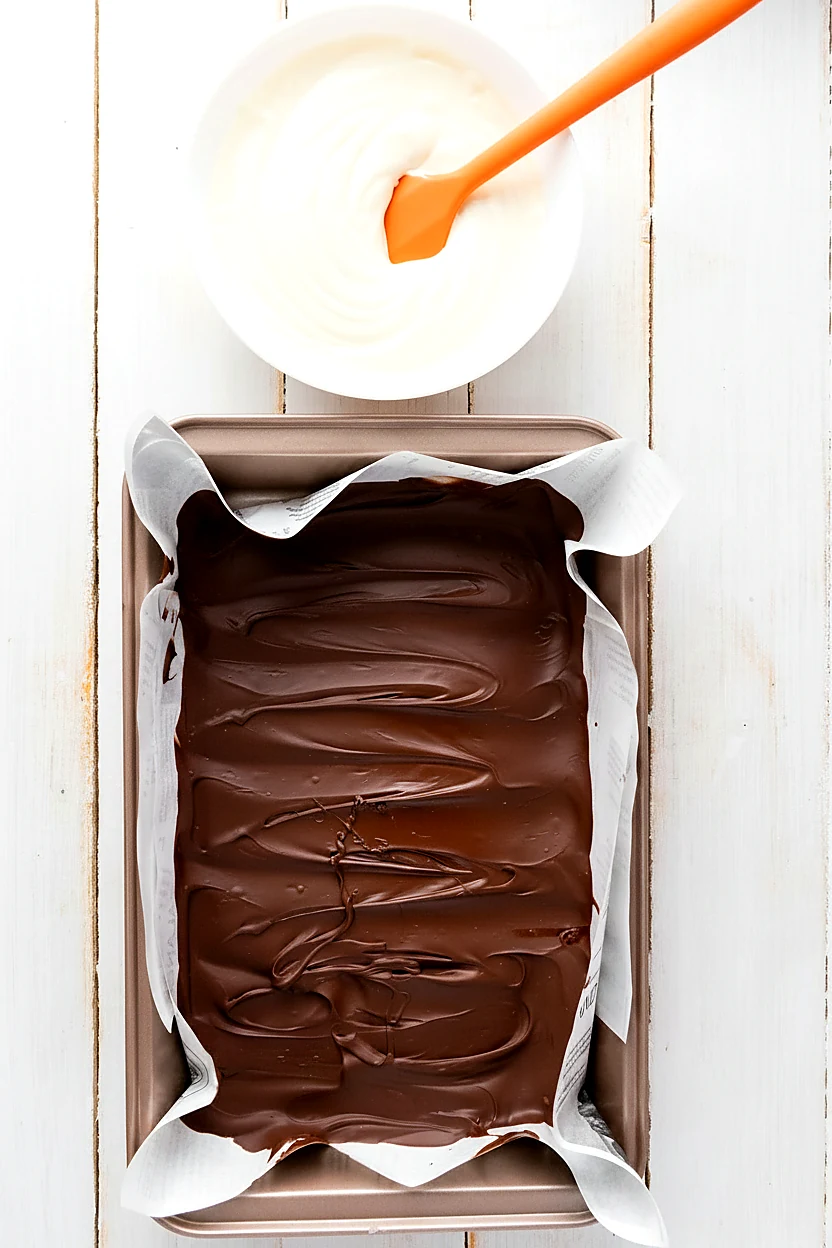
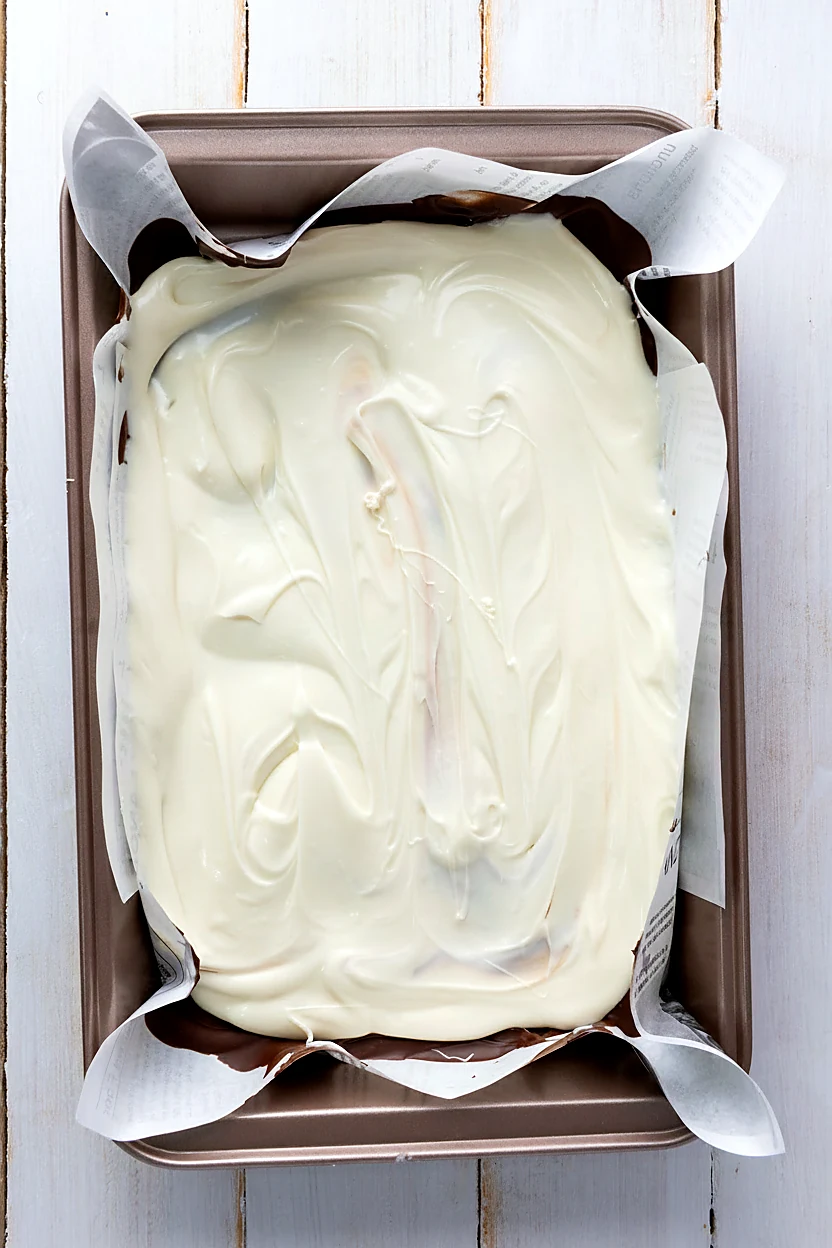
3. Add the white chocolate layer.
Melt the white chocolate chips until smooth, then spoon the white chocolate over the dark layer.
Spread it gently from the center toward the edges so the two layers stay stacked instead of turning into chocolate marble soup.
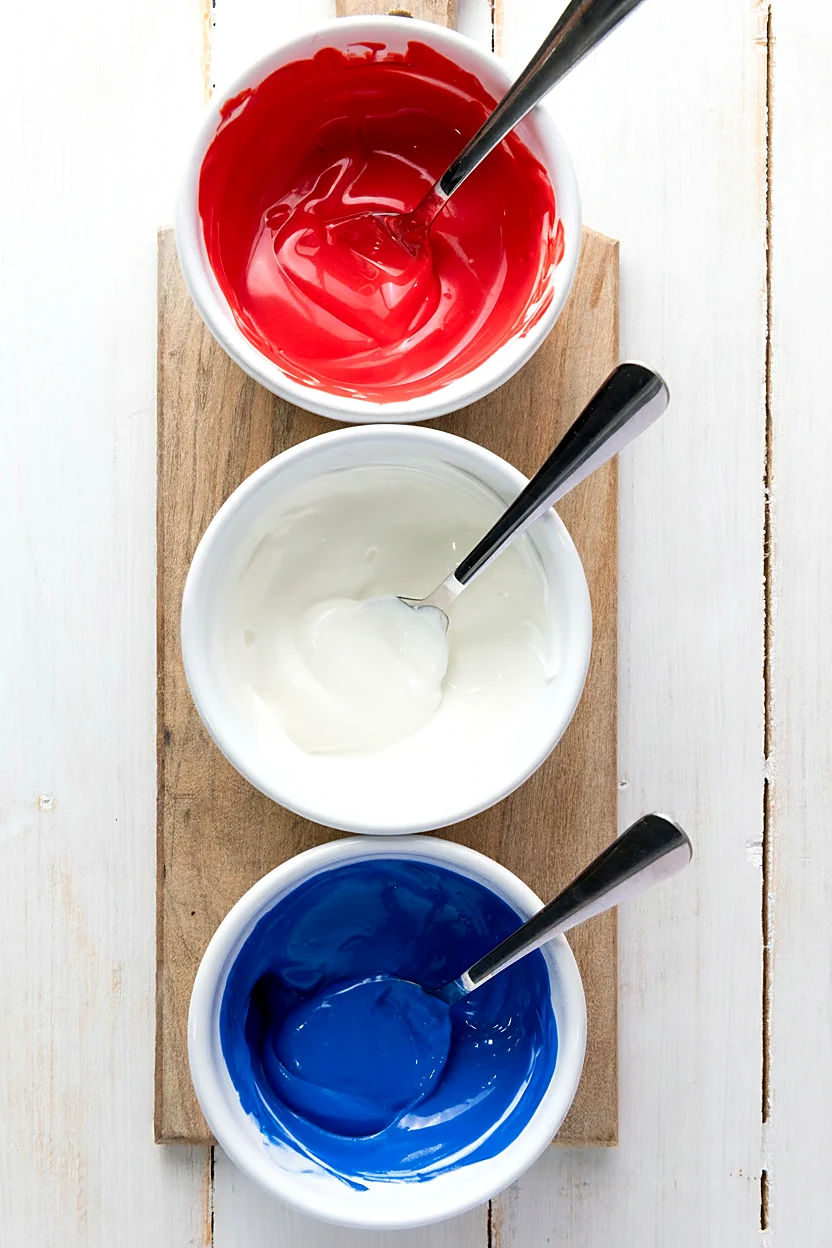
4. Melt the red, white, and blue candy melts.
Melt the red candy melts, blue candy melts, and white candy melts in separate small bowls until each color is smooth enough to drizzle.
Keep the colors separate for now, because the swirl happens in the pan and that is where the fun starts.
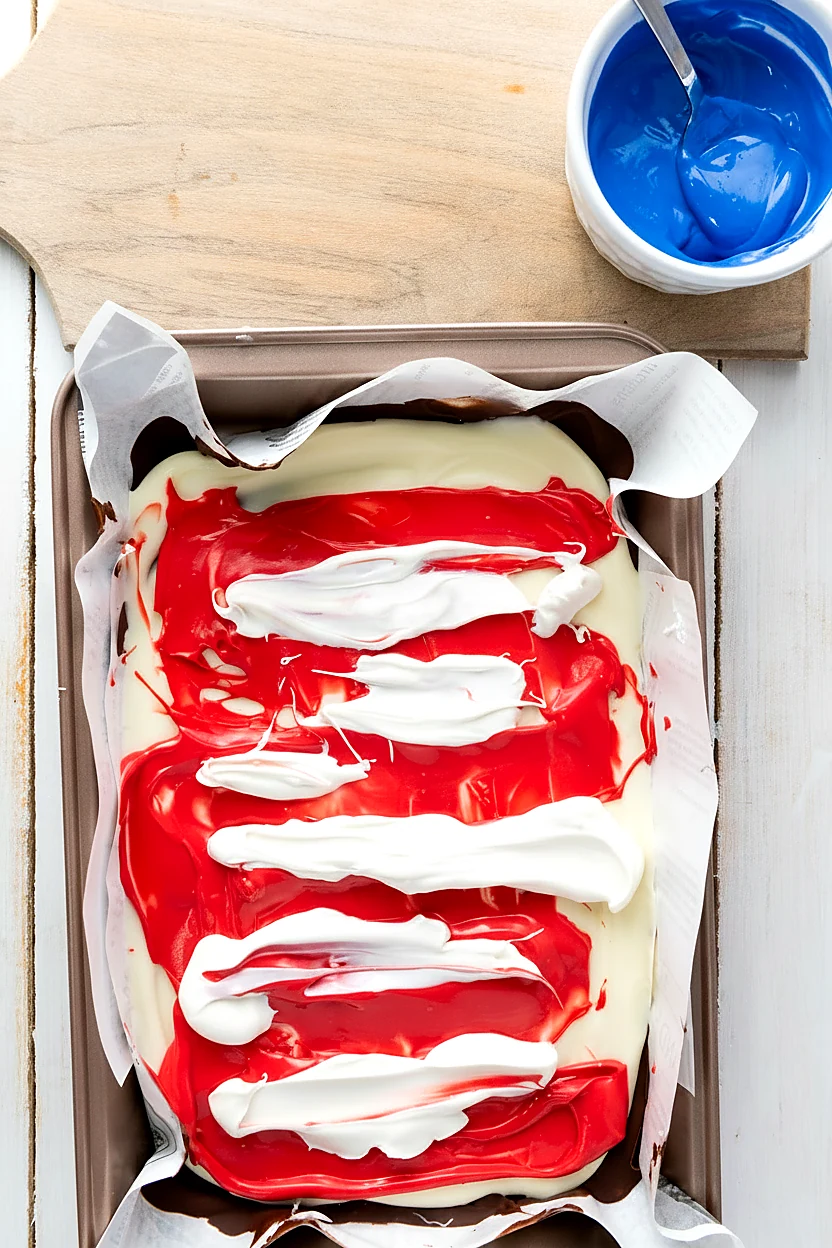
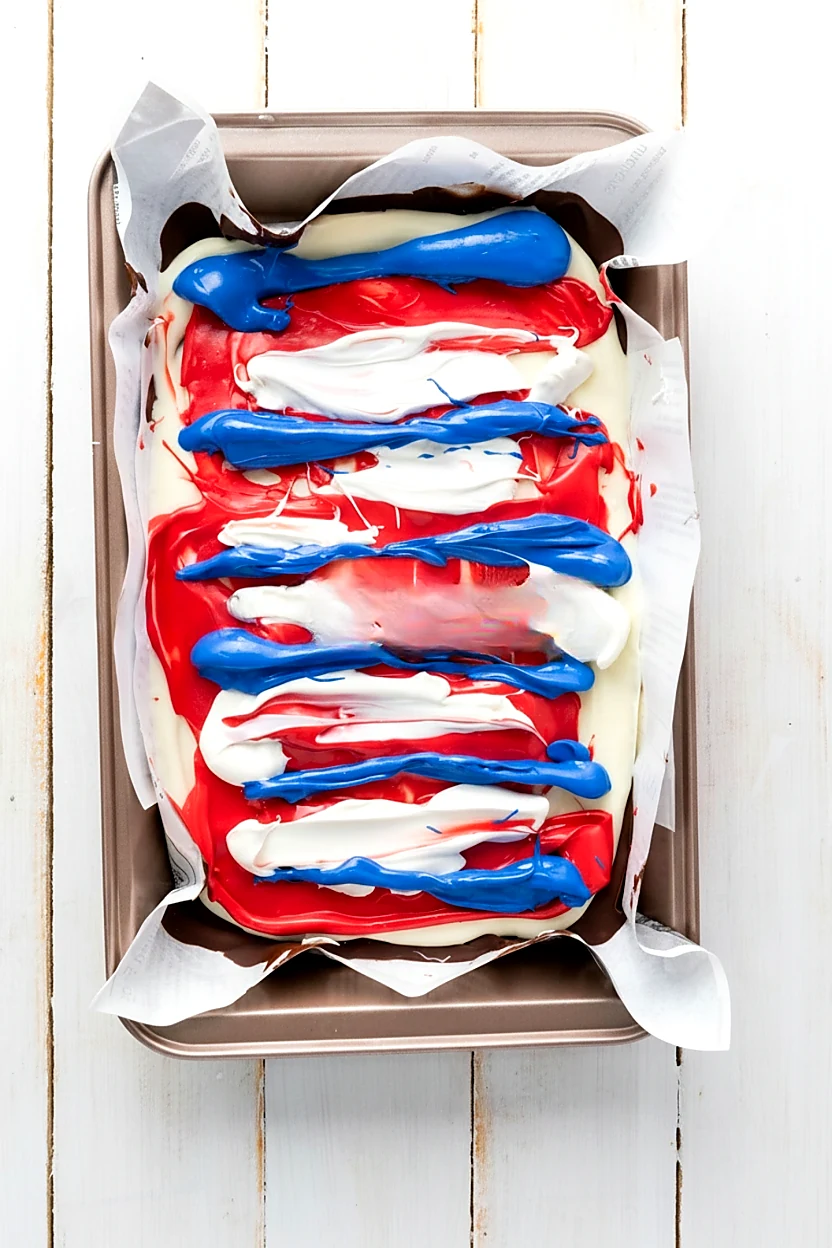
5. Drizzle the colored melts over the white layer.
Spoon or drizzle thick red lines across the white chocolate, then add blue lines in the open spaces.
Add a little white candy melt too, so the top has more movement once you swirl it.
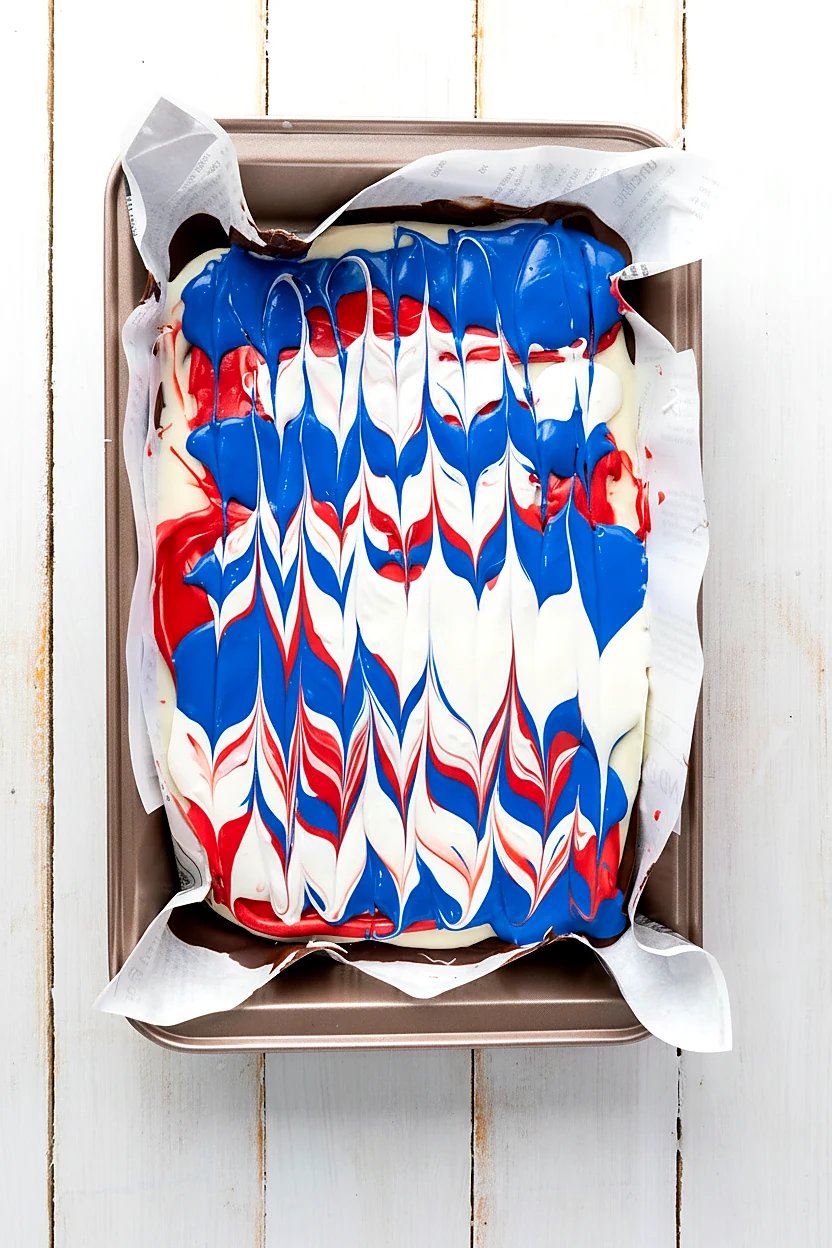
6. Swirl the colors.
Drag a skewer or the tip of a knife through the colored lines to pull the red, white, and blue into a marbled pattern.
Stop once it looks swirly and bold, because too much dragging can muddy the colors and make the top look tired.
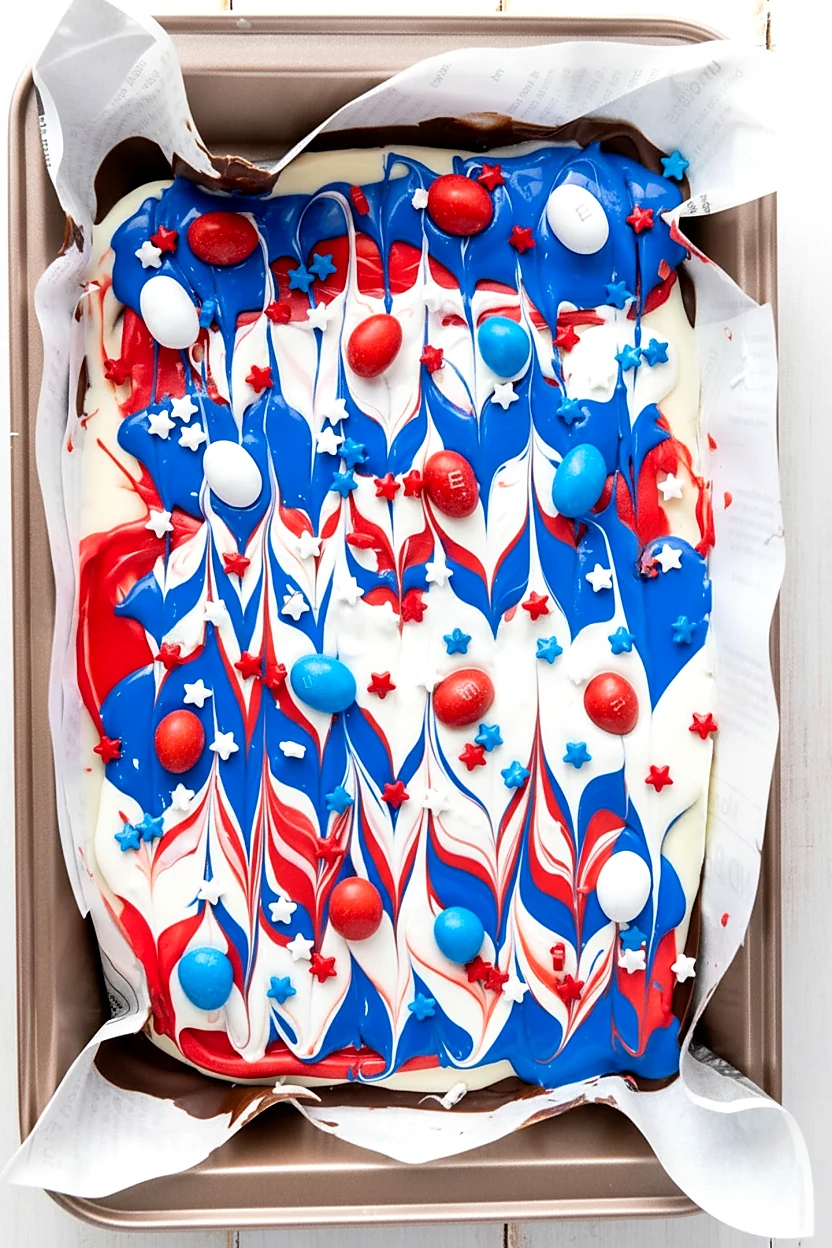
7. Add the candies and sprinkles.
While the top is still soft, sprinkle on the red, white, and blue chocolate candies and the star sprinkles.
Press any candies that sit too high just a tiny bit so they set into the chocolate instead of rolling off later.
8. Chill until firm.
Move the pan to the fridge and chill the bark until the chocolate feels firm from edge to center.
This usually takes about 30 minutes, though thicker bark can ask for a little more time because chocolate has its own schedule.
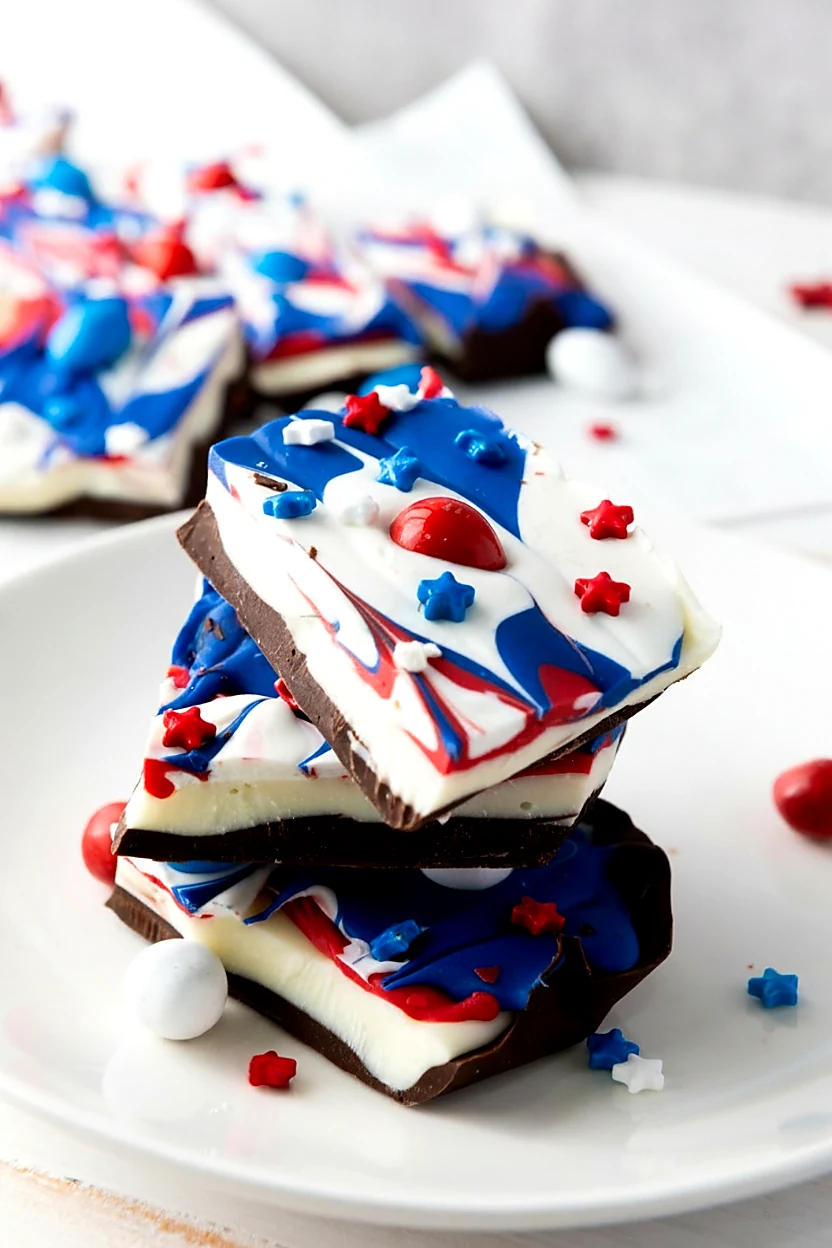
9. Cut or break the bark.
Lift the bark out by the parchment paper, set it on a board, and cut it into pieces.
You can make neat squares or break it into rough shards, and both look good because bark is very forgiving like that.
10. Serve the finished bark.
Transfer the pieces to a plate, tray, or small treat bags once the bark is fully set.
Try not to stand over the tray eating the corner pieces, unless that is your plan, in which case I respect it.
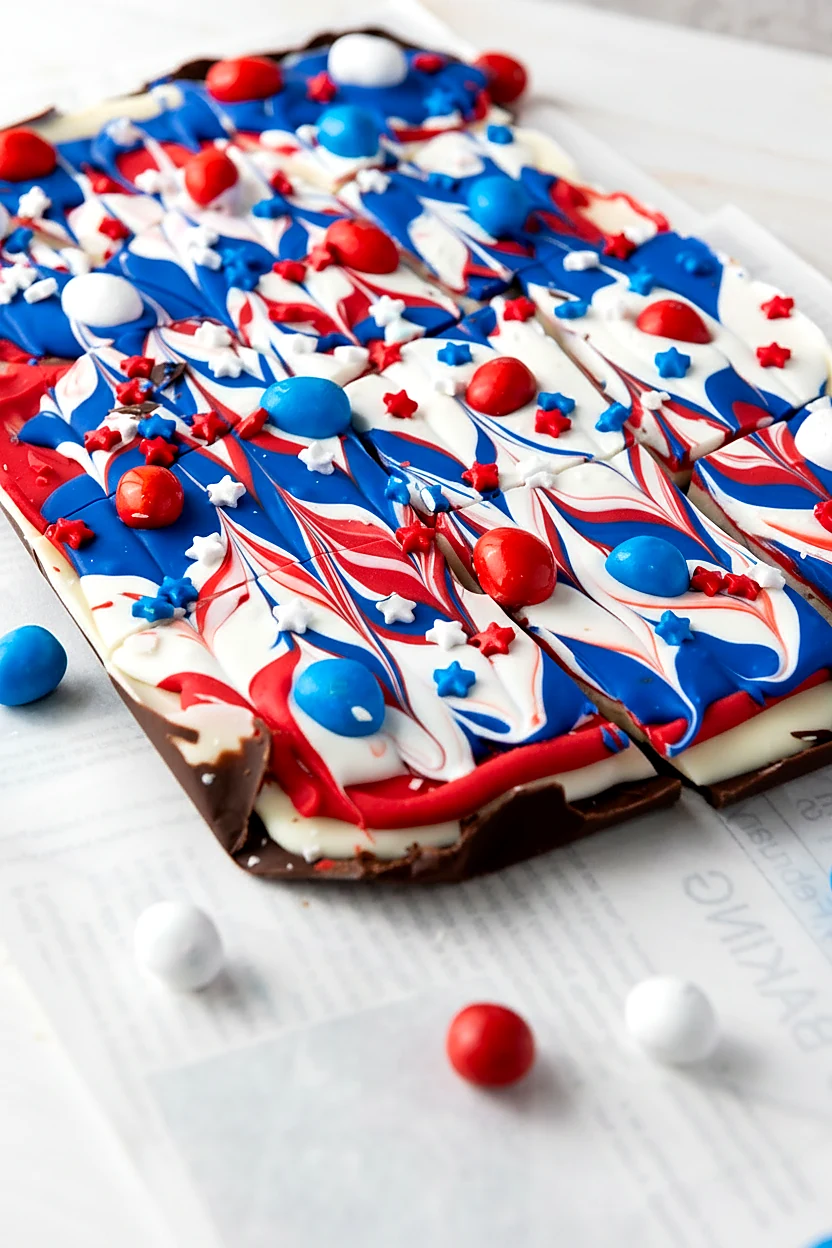
Why The Layers Set Up Nicely
The dark chocolate base gives the bark a firmer bottom, while the white chocolate and candy melts make the top creamy, colorful, and easy to decorate.
Adding the candies before the chocolate sets helps them stick, so the toppings stay on the bark instead of scattering across the plate like tiny chaos.
A Few Bark Moves That Matter
- Line the pan before melting the chocolate so the bark lifts out without a fight.
- Keep the white layer gentle when spreading so the dark base stays mostly underneath.
- Swirl just enough to make the colors move, then stop before they blend too much.
- Add candies and sprinkles while the top is still soft so the toppings stick.
How To Serve It
Serve this bark on a dessert tray, wrap pieces in little bags, or pile them on a plate for a cookout table.
It is sweet, colorful, and easy to grab, which is exactly what you want when people are walking around with paper plates and cold drinks.
Keeping It Fresh
Keep the bark in an airtight container in the fridge for up to 1 week.
If your kitchen is cool, it can sit out for serving, but warm summer rooms can soften the chocolate fast.
Layer parchment between pieces if you stack them, because the candy topping can rub against the white chocolate.
Little Questions Before It Sets
Can I make red white and blue chocolate bark ahead?
Yes, this bark is a good make-ahead treat because it needs time to chill and stays firm in the fridge.
Can I break it instead of cutting it?
Yes, breaking it into rough pieces works fine and gives the bark that classic homemade candy look.
Why do the candies need to go on while the top is soft?
The candies need the soft chocolate to grip them, or they can pop off once the bark is cut.
Do I need to use all three candy melt colors?
The red and blue are what make the bark read patriotic, and the white melt helps the swirl look fuller against the white chocolate layer.
Can kids help with this recipe?
They can help scatter candies and sprinkles, but the melted chocolate should be handled by an adult because it can be hot.
Use Up Extra Candy Melts
Extra melted candy can be drizzled over pretzels, cookies, marshmallows, or another small sheet of bark.
If it has already firmed up, just save the leftover pieces in a sealed bag for the next batch.
Red White and Blue Chocolate Bark
This red white and blue chocolate bark is a no-bake patriotic chocolate bark made with a dark chocolate base, white chocolate layer, candy melt swirls, chocolate candies, and star sprinkles. It is easy to make ahead for 4th of July parties, Memorial Day cookouts, and summer dessert trays.
- Total Time50 minutes, including chilling
- Yield16 pieces 1x
- DietEgg Free, Nut Free, Vegetarian
Ingredients
- 2 cups semi-sweet chocolate chips
- 2 cups white chocolate chips
- 1/2 cup red candy melts
- 1/2 cup blue candy melts
- 1/2 cup white candy melts
- 1/2 cup red, white, and blue chocolate candies
- 1 tablespoon patriotic star sprinkles
Instructions
- Line a rectangular baking pan with parchment paper, leaving overhang on the sides.
- Melt the semi-sweet chocolate chips until smooth.
- Spread the melted chocolate evenly into the lined pan.
- Melt the white chocolate chips until smooth.
- Spoon the white chocolate over the dark chocolate layer and spread gently.
- Melt the red, blue, and white candy melts in separate bowls.
- Drizzle the red, blue, and white candy melts over the white chocolate layer.
- Drag a skewer or knife tip through the colors to swirl.
- Add the chocolate candies and star sprinkles while the top is still soft.
- Chill until firm, about 30 minutes.
- Lift the bark from the pan and cut or break into pieces.
- Serve chilled or at cool room temperature.
Equipment
 Buy Now →
silicone spatula, rubber spatula, cheesecake spatula, bowl scraper, folding spatula, baking spatula
Buy Now →
mixing bowls, borosilicate glass, mixing bowl set, round glass bowls, tempered glass
Buy Now →- Prep Time: 20 minutes
- Cook Time: 0 minutes
- Category: Dessert
- Method: No Bake
- Cuisine: American